
Why There are Braces, and a New Brace

Bracing
Last time we discussed the decision to replace the soundboard instead of reinstalling the existing one.
To get to where we can make a replacement soundboard, we need several other things first: the braces need to be in, the bearings need to be in place holding the shaft in place, and the wheel needs to be placed on the shaft. We also need to resolve any other internal issues, and decide how to include the original maker’s mark into the instrument. I have some thoughts on this, but nothing concrete yet.
The tail bearing is dependent on the head bearing. We’ve already fitted the head bearing into the center brace. I’m calling it the center brace because hurdy-gurdies usually have three braces: at the head end, just to the head side of the wheel hole, and just to the tail side of the wheel hole. Because of their relative position, these are called the head brace, center brace, and tail brace. This instrument appears never to have had a head brace on the top, though there is one on the back.
A Brief Aside about Directions
“Top” and “soundboard” get used interchangeably to mean “the piece of wood on which the bridges and keybox rest”. “Top” never means “at the head end.” It always means “the soundboard.” I’ve heard people use up, down, left, right, front, and back when talking about directions, and I don’t use any of them except “back.” The directions are “headward,” “tailward,” “audience side,” and “player side.” “Back” is the part that rests on the player’s knees. “Top” is described above, pretty much parallel to the back. “Back” implies “front,” but there’s no “front.”
More About Bracing, and a Little History
Let’s start by talking about what the braces do, and how they differ from the braces in a guitar.
In a guitar, the soundboard is a flat piece of spruce which is set vibrating by plucking the strings which have one end anchored in the middle of the widest part (the bridge). If we trace the idea of the guitar back far enough, we come to an instrument which is made from a piece of animal skin stretched on a hoop. One or more strings is attached to the center of this skin and pulled taut in some way. When this string is plucked or struck or bowed it resonates, and the taut skin resonates with it and amplifies the sound. If we add a resonating chamber by (for example) stretching the skin over a chamber such an open gourd, the sound is amplified more.
The guitar’s closest ancestor is the lute, which was derived from the oud. The oud’s name in Arabic is al-oud, meaning “from wood” because it was made with a wood soundboard in place of the stretched skin.
If one makes an oud or a lute or a guitar with just a flat piece of wood, it is what we call in this family a “temporary toy.” It will last for a while, but the constant pull of the taut strings will deform the wood and before long it will become unplayable or even tear itself to pieces.
The solution is to add some pieces of wood to reinforce the soundboard, i.e. braces. The braces on a guitar don’t go all the way out to the edge so that the whole soundboard can vibrate up and down like a drumhead. I won’t violate copyright and steal a photo to show what I’m talking about. If you’d like to see, Google “guitar soundboard bracing” and look at the images.
There’s a whole boatload of science about how membranes vibrate, and the kind of vibrations we see in a guitar soundboard are similar to those of a membrane or drumhead. There are numerous ways of visualizing this to see what’s happening.

Paul Falstad wrote a number of Javascript physics applets, including this one for circular membranes: https://www.falstad.com/circosc/. It demonstrates the complex modes one by one or in combination.
The violin family works a bit differently, in that the string tension is lower and the soundboard is arched. The strings don’t terminate at the bridge, but are stretched over it, holding it in place. There’s usually a single brace called the bass bar. The soundboard is thinner around the edges. As on the guitar, the bracing and thicker center mean that the soundboard vibrates like a drumhead. There’s also a piece of wood called the soundpost linking the soundboard to the back, so that the back also vibrates. The soundpost is fitted by hand and is held in place with string pressure.
Entire books have been written about guitar bracing and violin arching, and I am not going to claim to be an expert on either. Let it suffice to say that there’s much, much more to discuss about bracing, but I’m not going to do it here.
How Hurdy-gurdy Bracing is Different.
The hurdy-gurdy is structurally different from the guitar and violin families, so much so that we really have to treat them as their own family. Hurdy-gurdies have three braces. The braces go all the way to the edge of the body. Each brace has a soundpost. The soundposts are glued in. There’s a big hole across the instrument for the wheel. These factors all combine to essentially divide the soundboard into four resonating zones instead of a single membrane. The back isn’t free to vibrate because it’s on the player’s lap. All of these differences mean that the “rules” of guitar and violin building don’t apply.
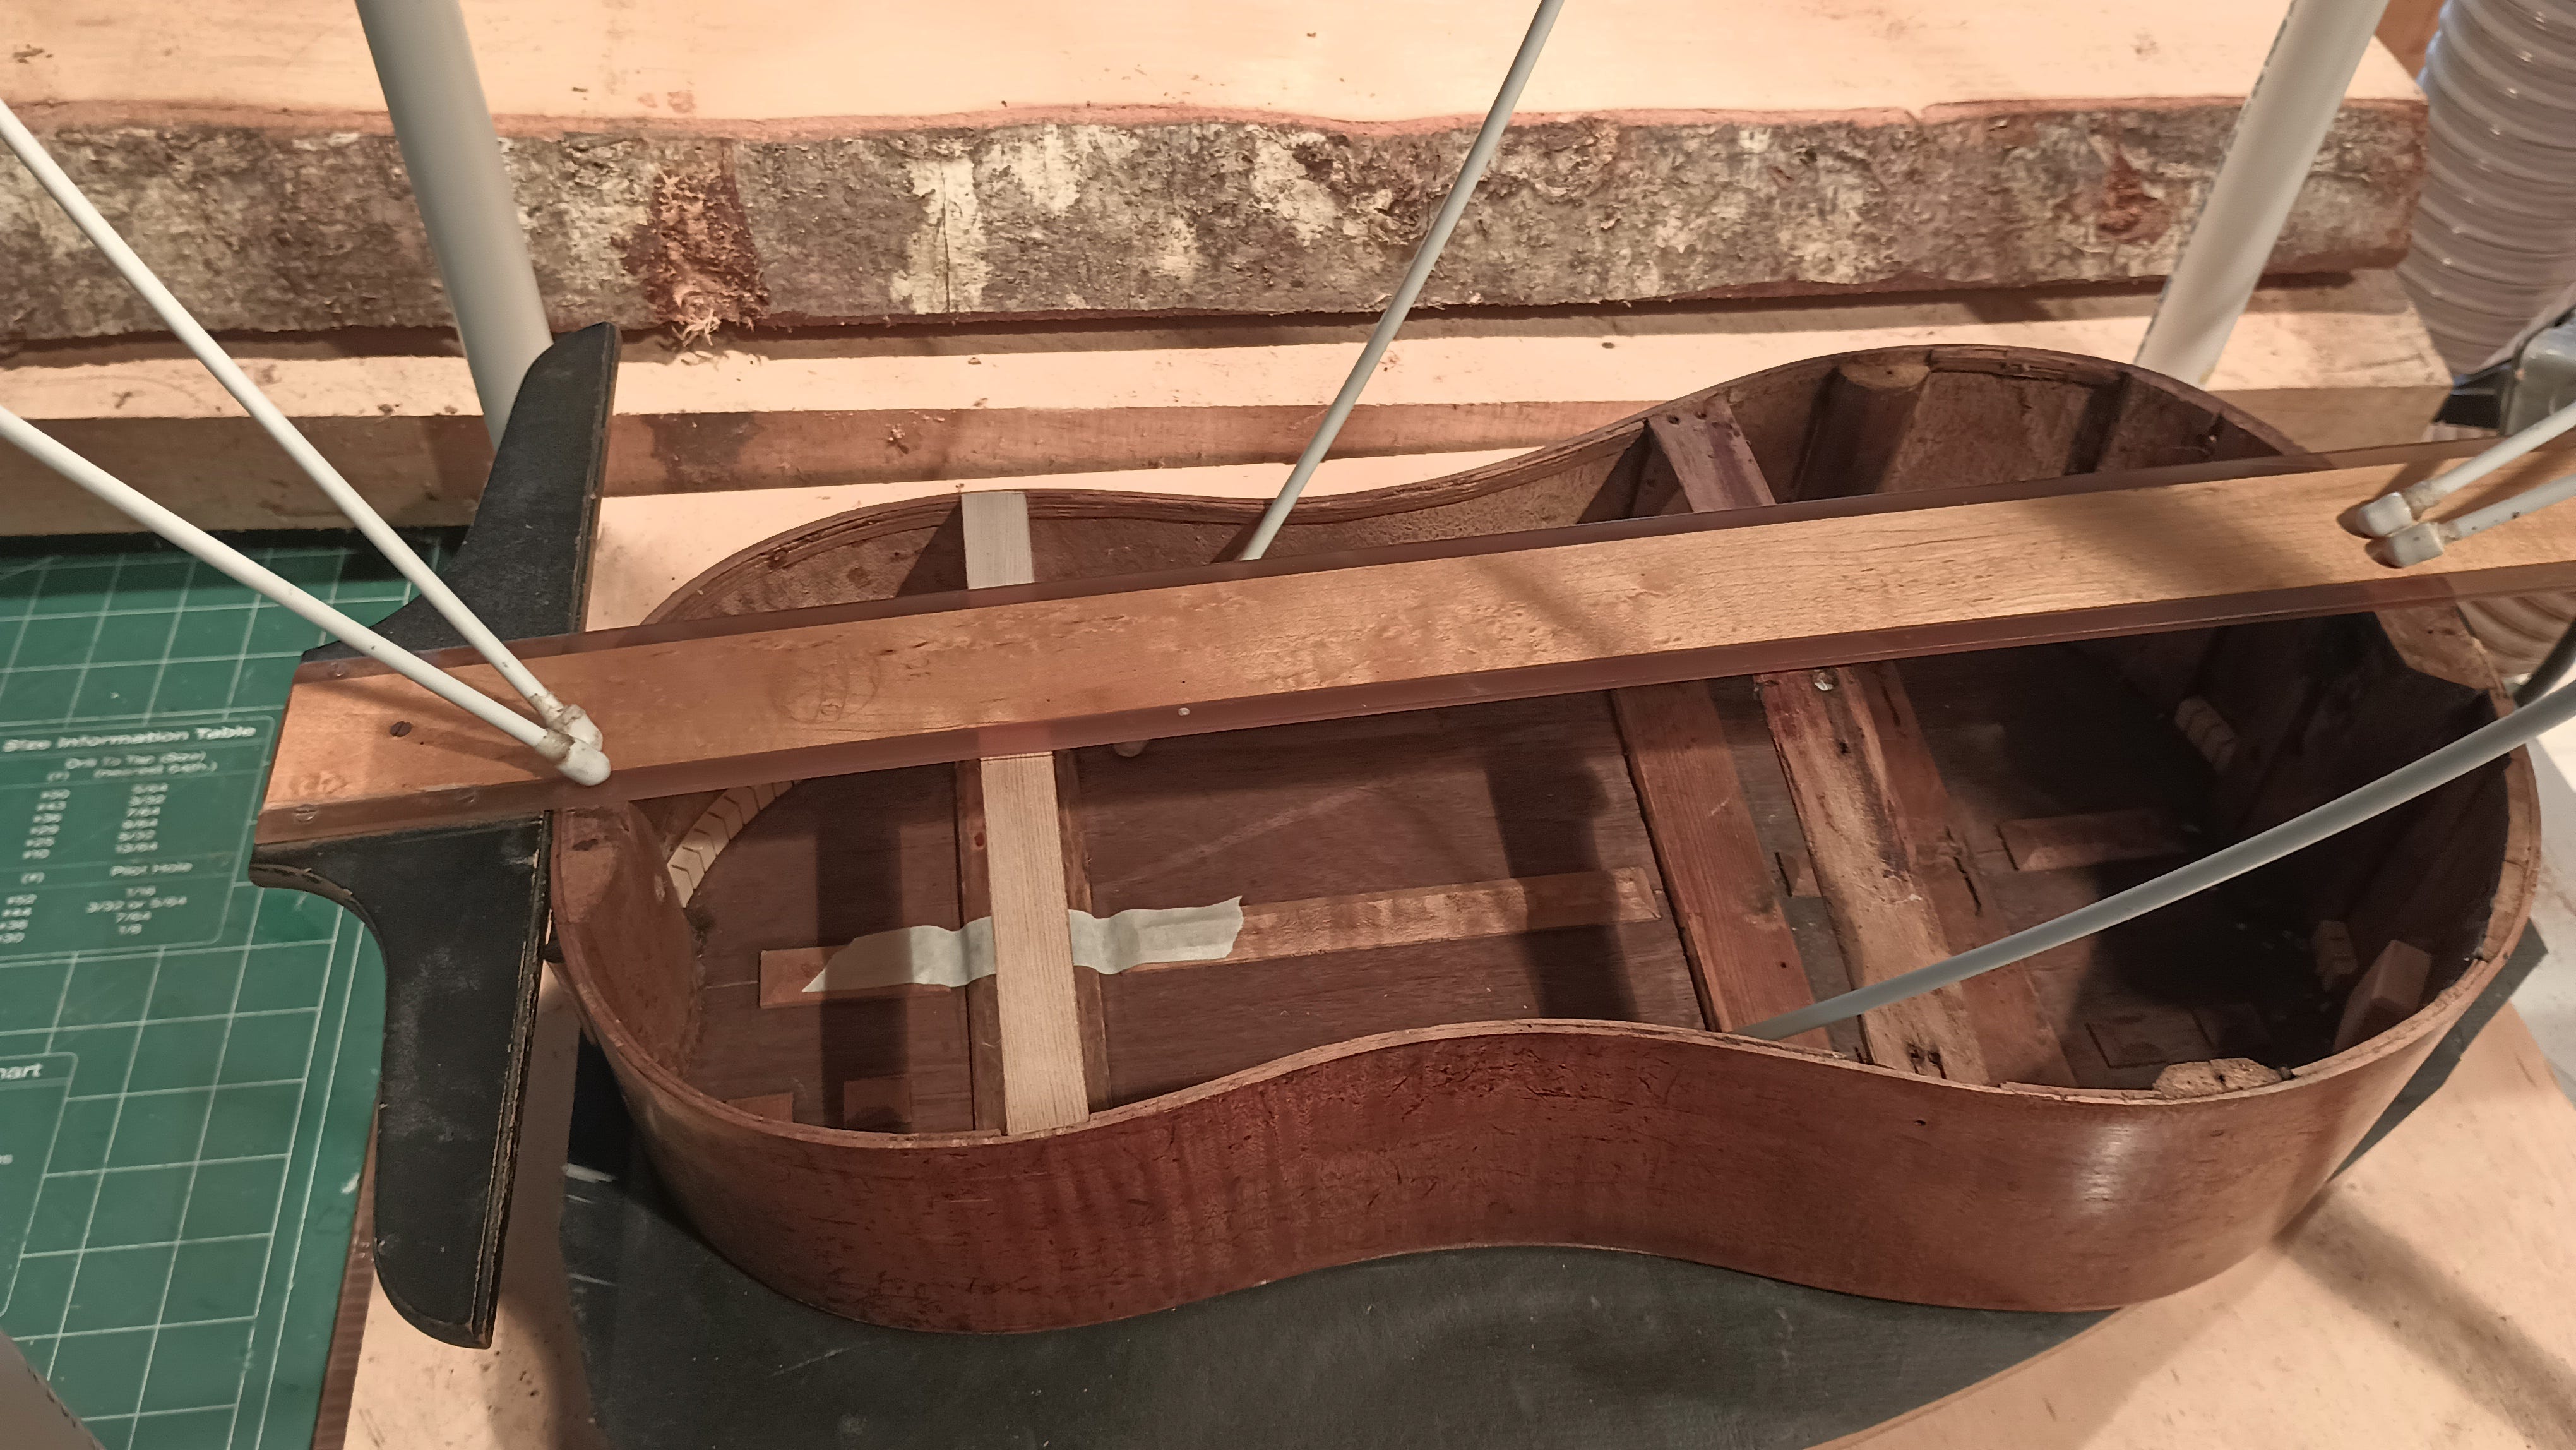
When a hurdy-gurdy is built, the braces are installed in the body as the structure over which the soundboard is bent. On an instrument like the Jomier, the back, side, and top braces form a rectangular box with a slightly curved top.
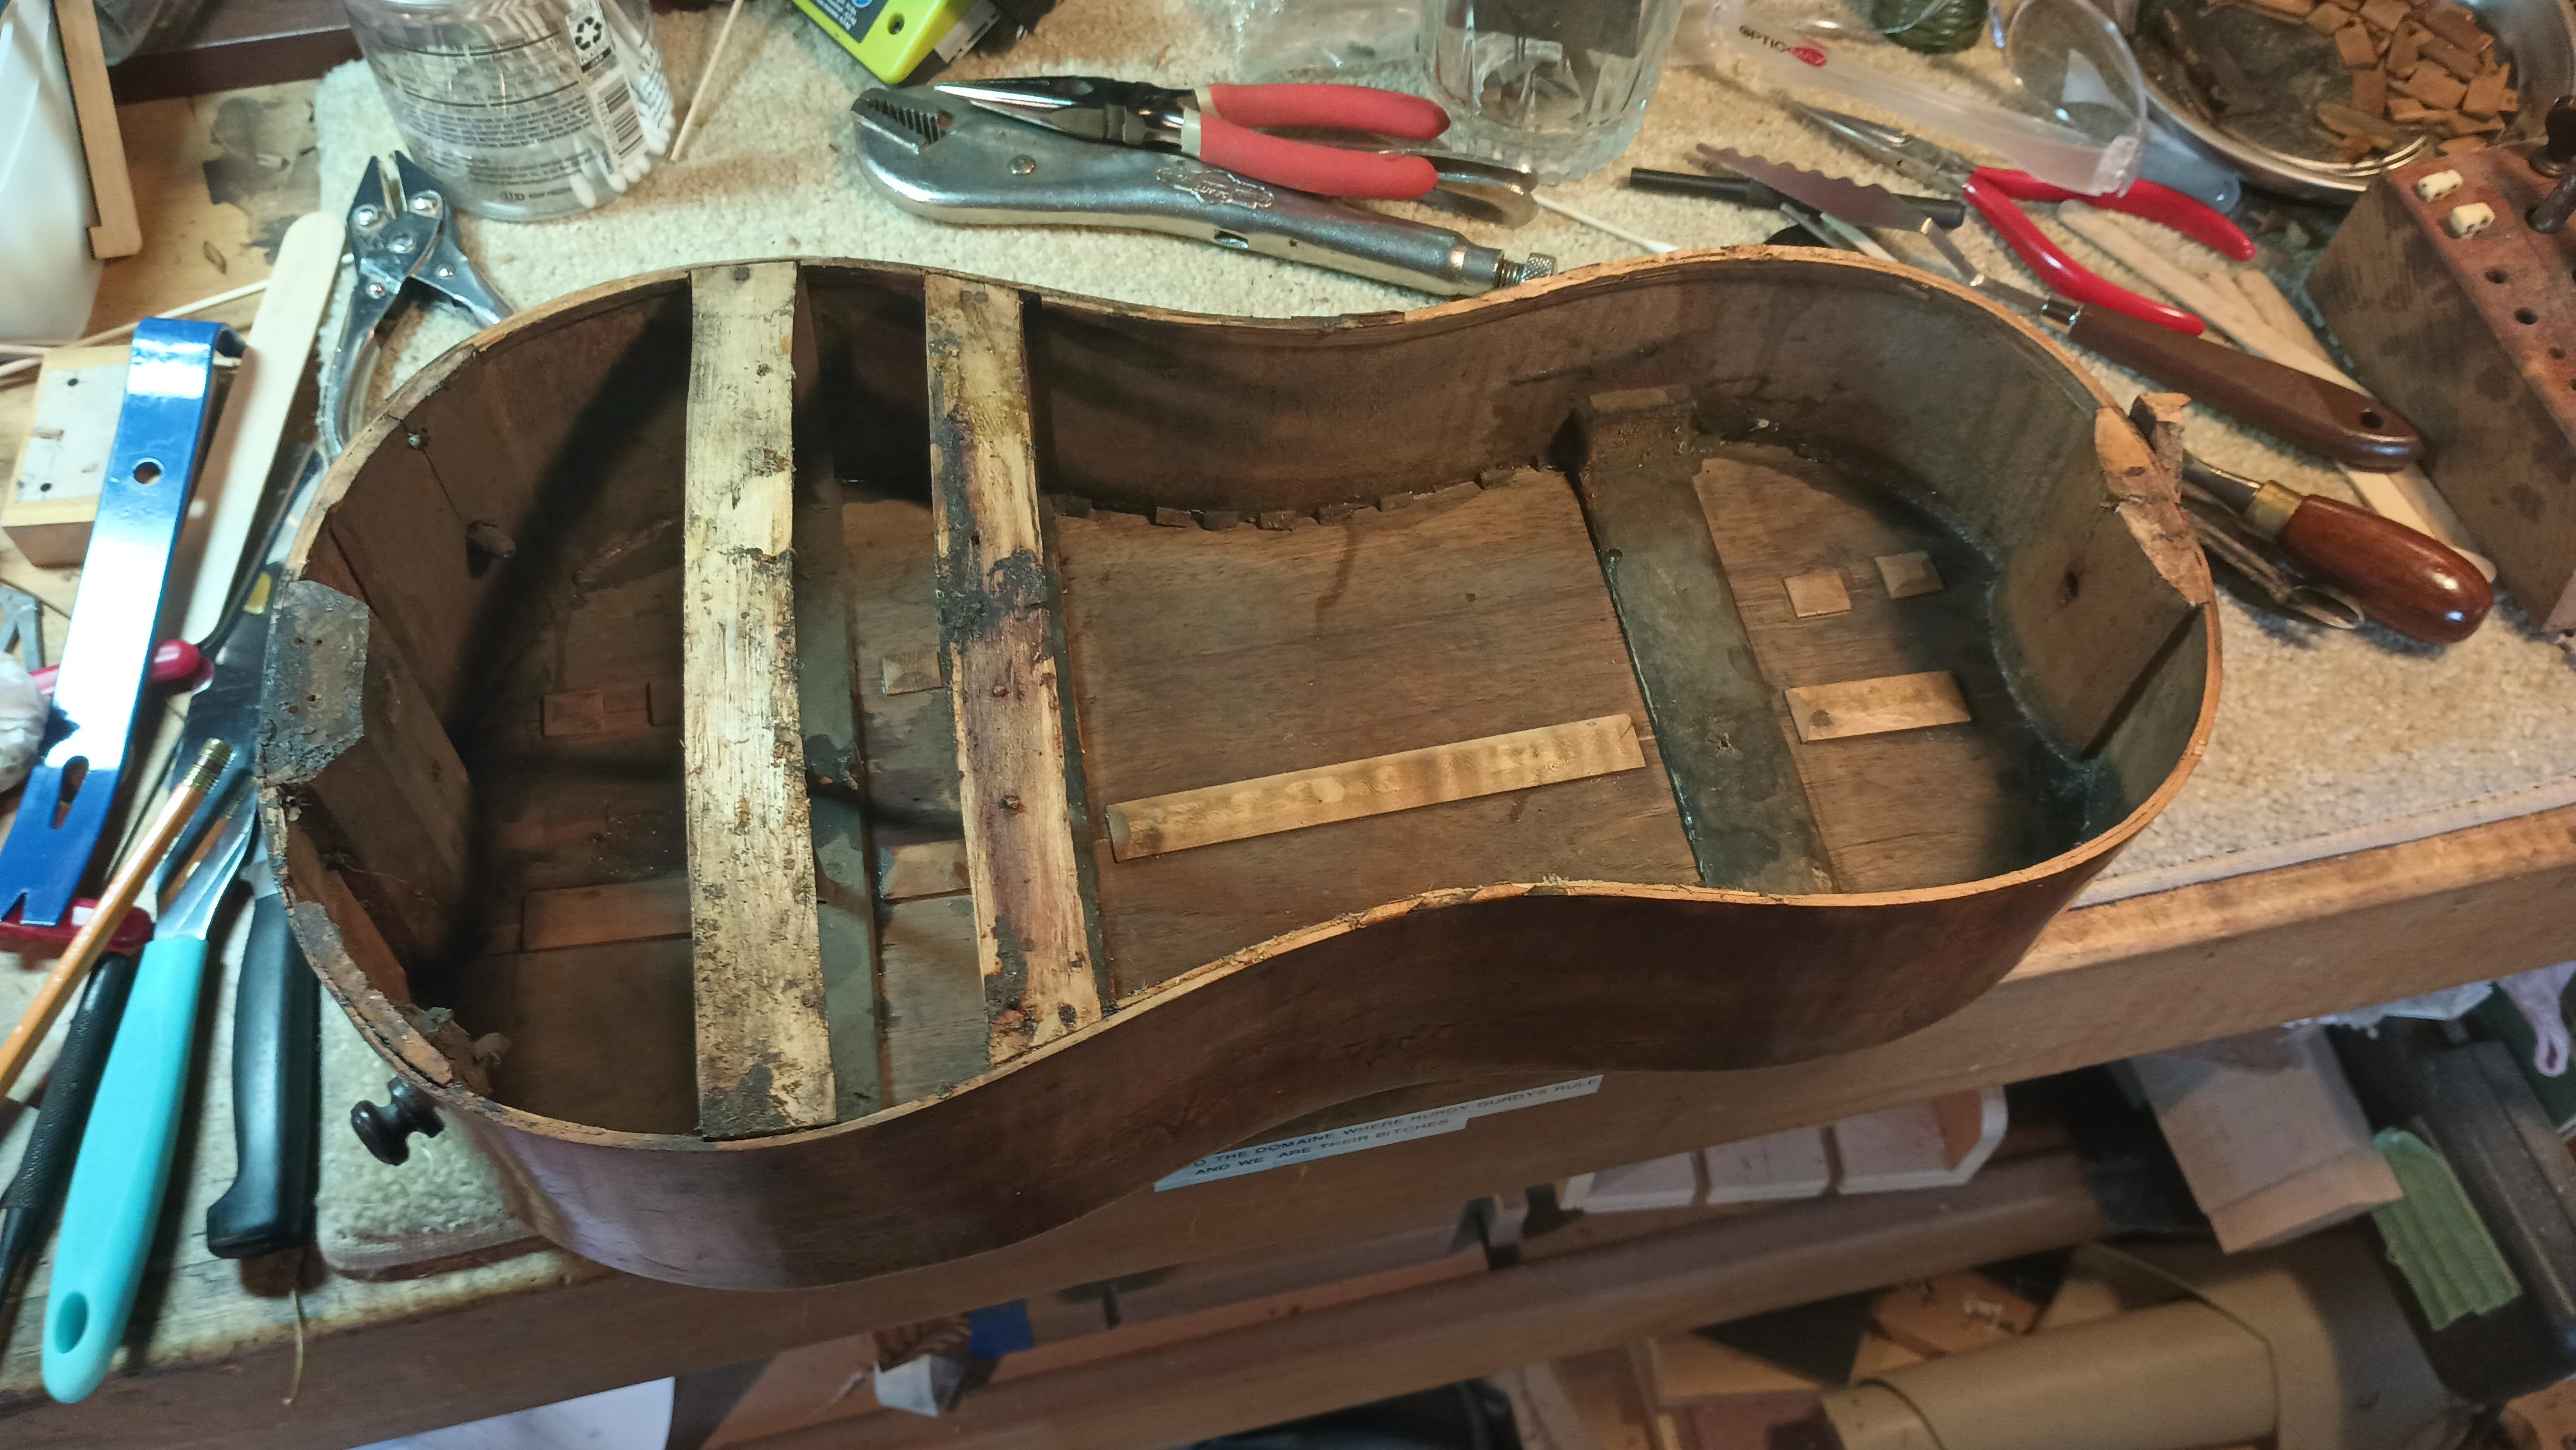
We see this here in this flashback to when we had just removed the soundboard and the wheel.
One question here is why there is no head brace. It’s pretty odd, but it’s apparently how the instrument was built. As I’ve noted before, the back brace in the head position appears to be original, but there’s no hint of side braces or a top brace to go with it. Also, strangely, the head brace on the back is wider, of a different wood, and of a different shape compared to the center and tail braces. All of this adds up to one big pile of “weird.” I considered the possibility that the head brace on the back was a later addition, but there’s nothing at all to support that idea (so to speak.)
Should We Add a Head Brace?
The more important question is whether it’s detrimental to the instrument to not have a head brace on top. After just a little consideration, I said, “Yes, so it needs a head brace.” It will be getting a new soundboard, and that soundboard needs to be both bent to its necessary curvature and supported properly afterward. So we need side braces to support it, and we need a head brace, and we need a soundpost for it.
I located a piece of spruce brace stock which had previously prepped for making a symphonie, probably about 15 years ago. Pretty much all of the wood in the shop is fair game for making things with, and symphonie stock is an especially good candidate because there is absolutely no chance it will ever be made into a symphonie.
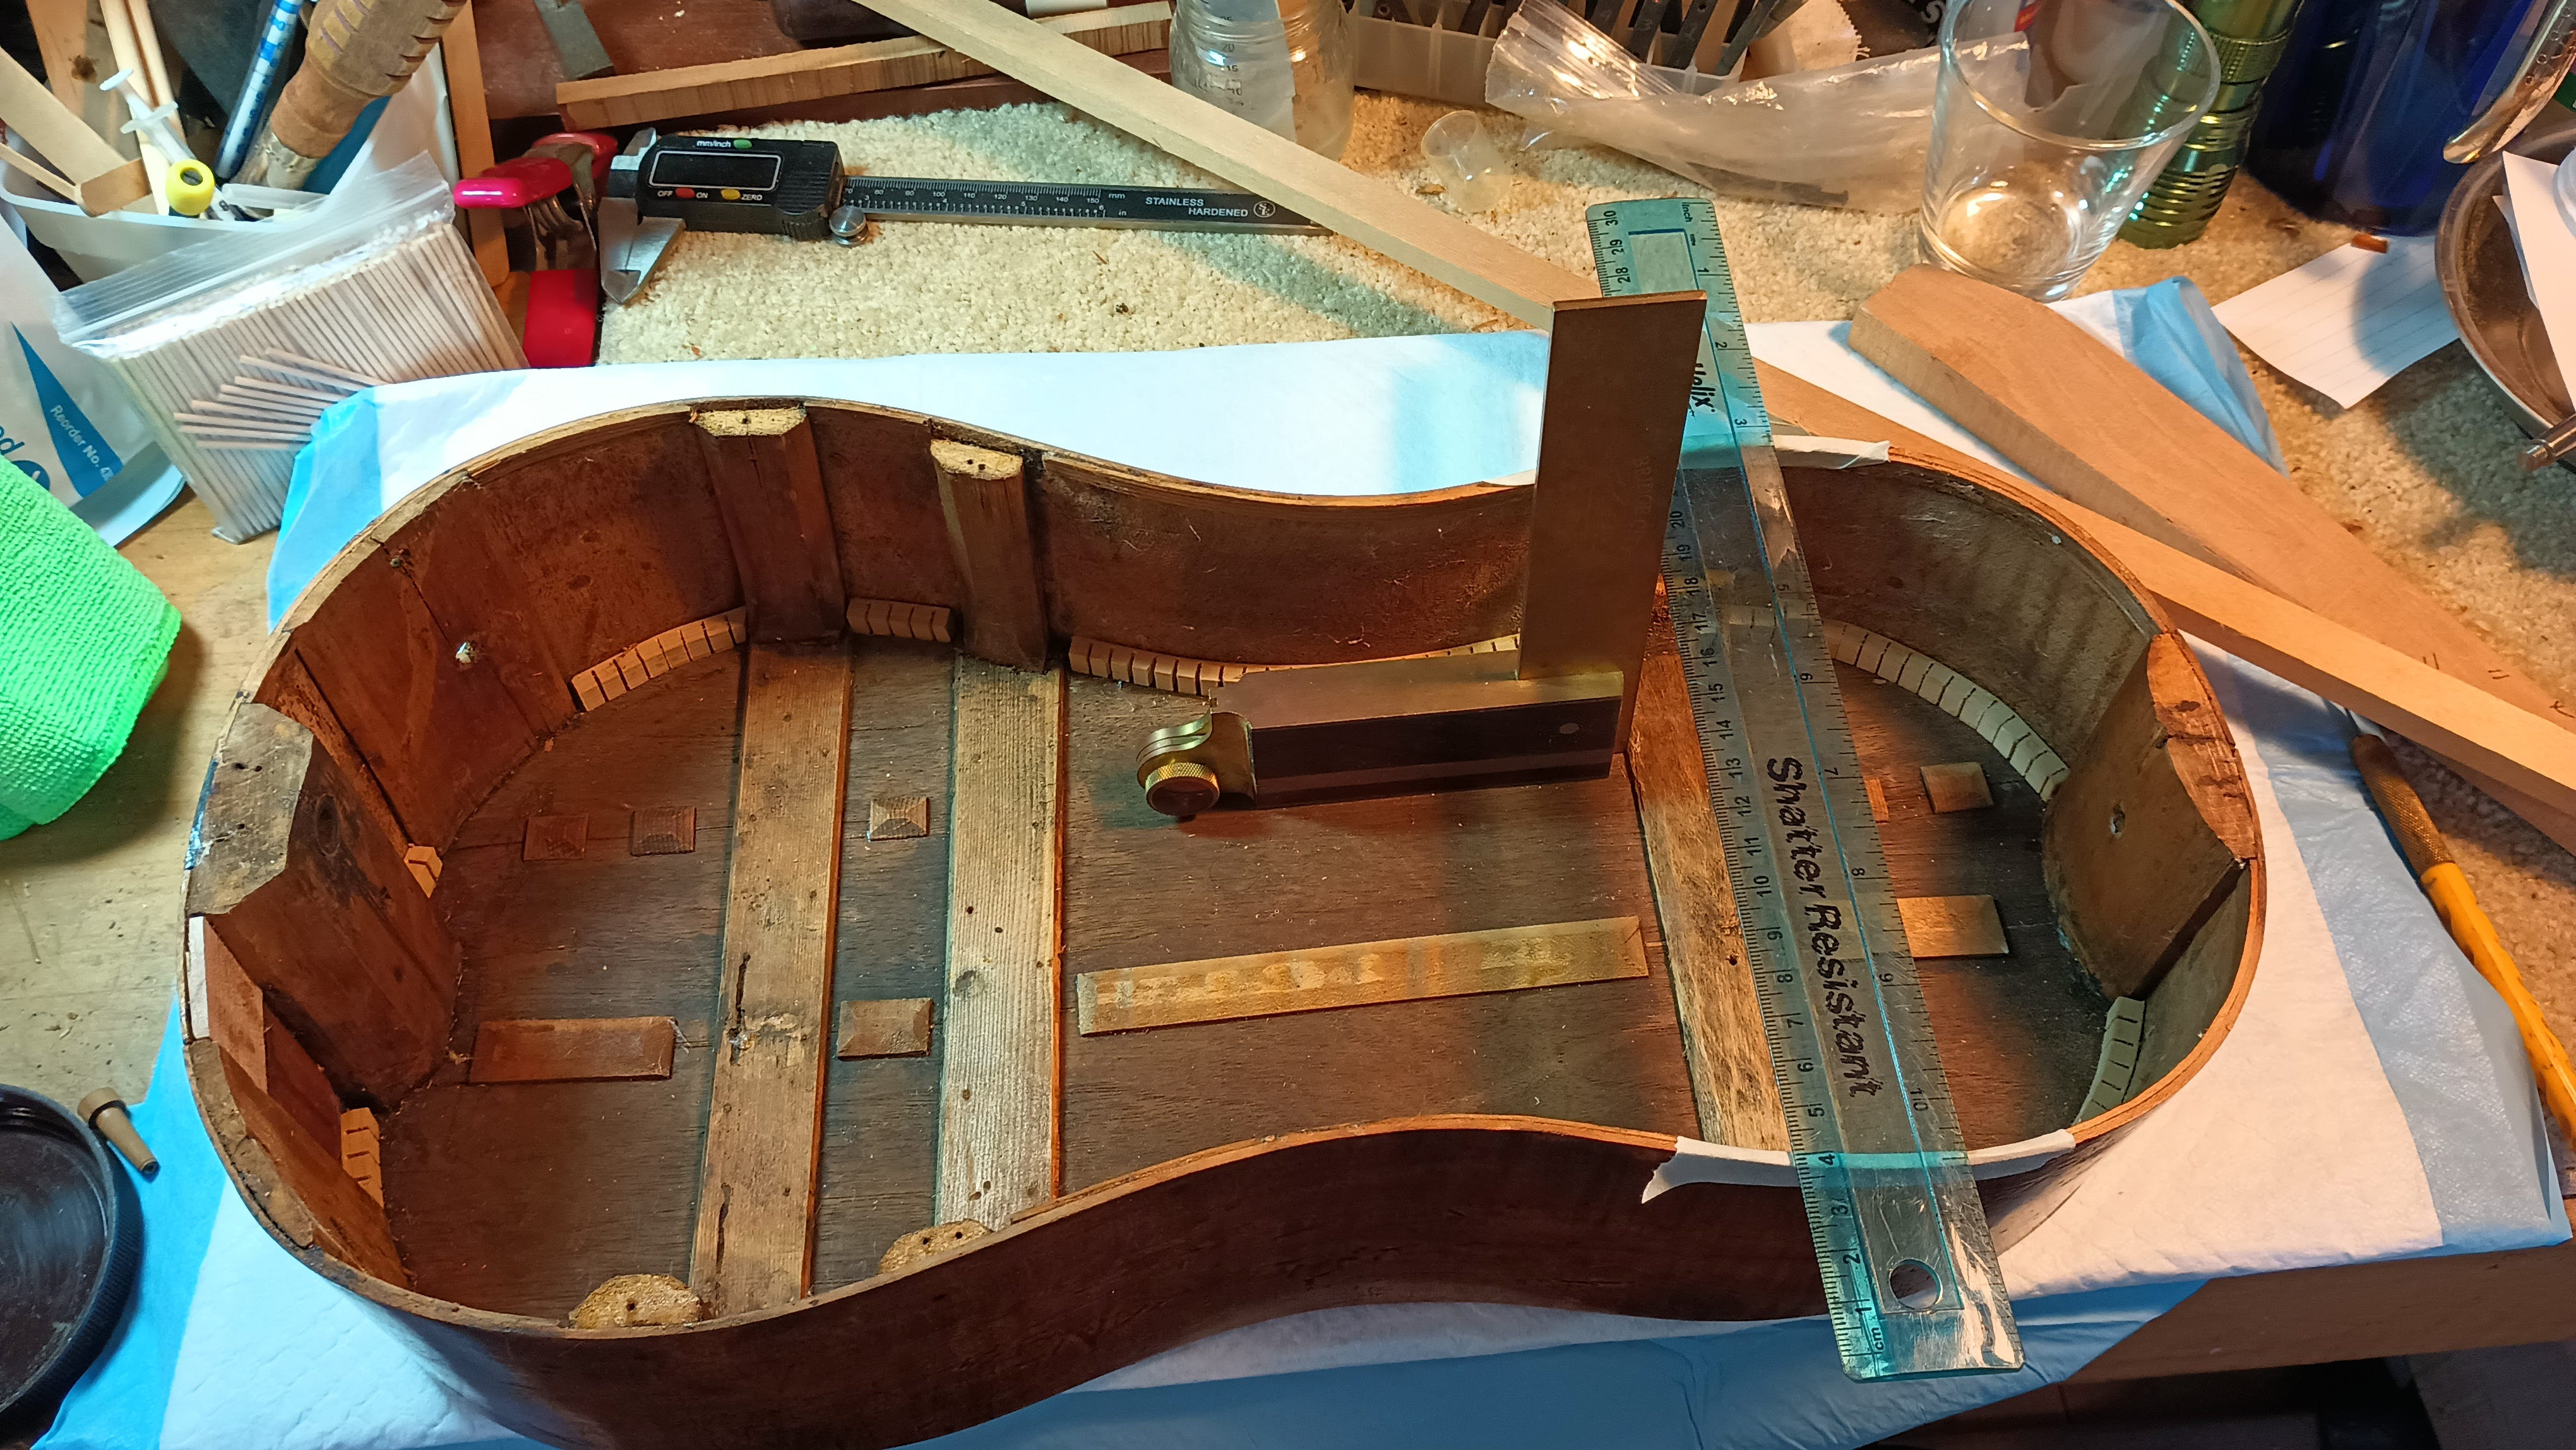
The brace stock piece is the long piece at upper right. Here I’m using a square to put layout lines on the top linings.
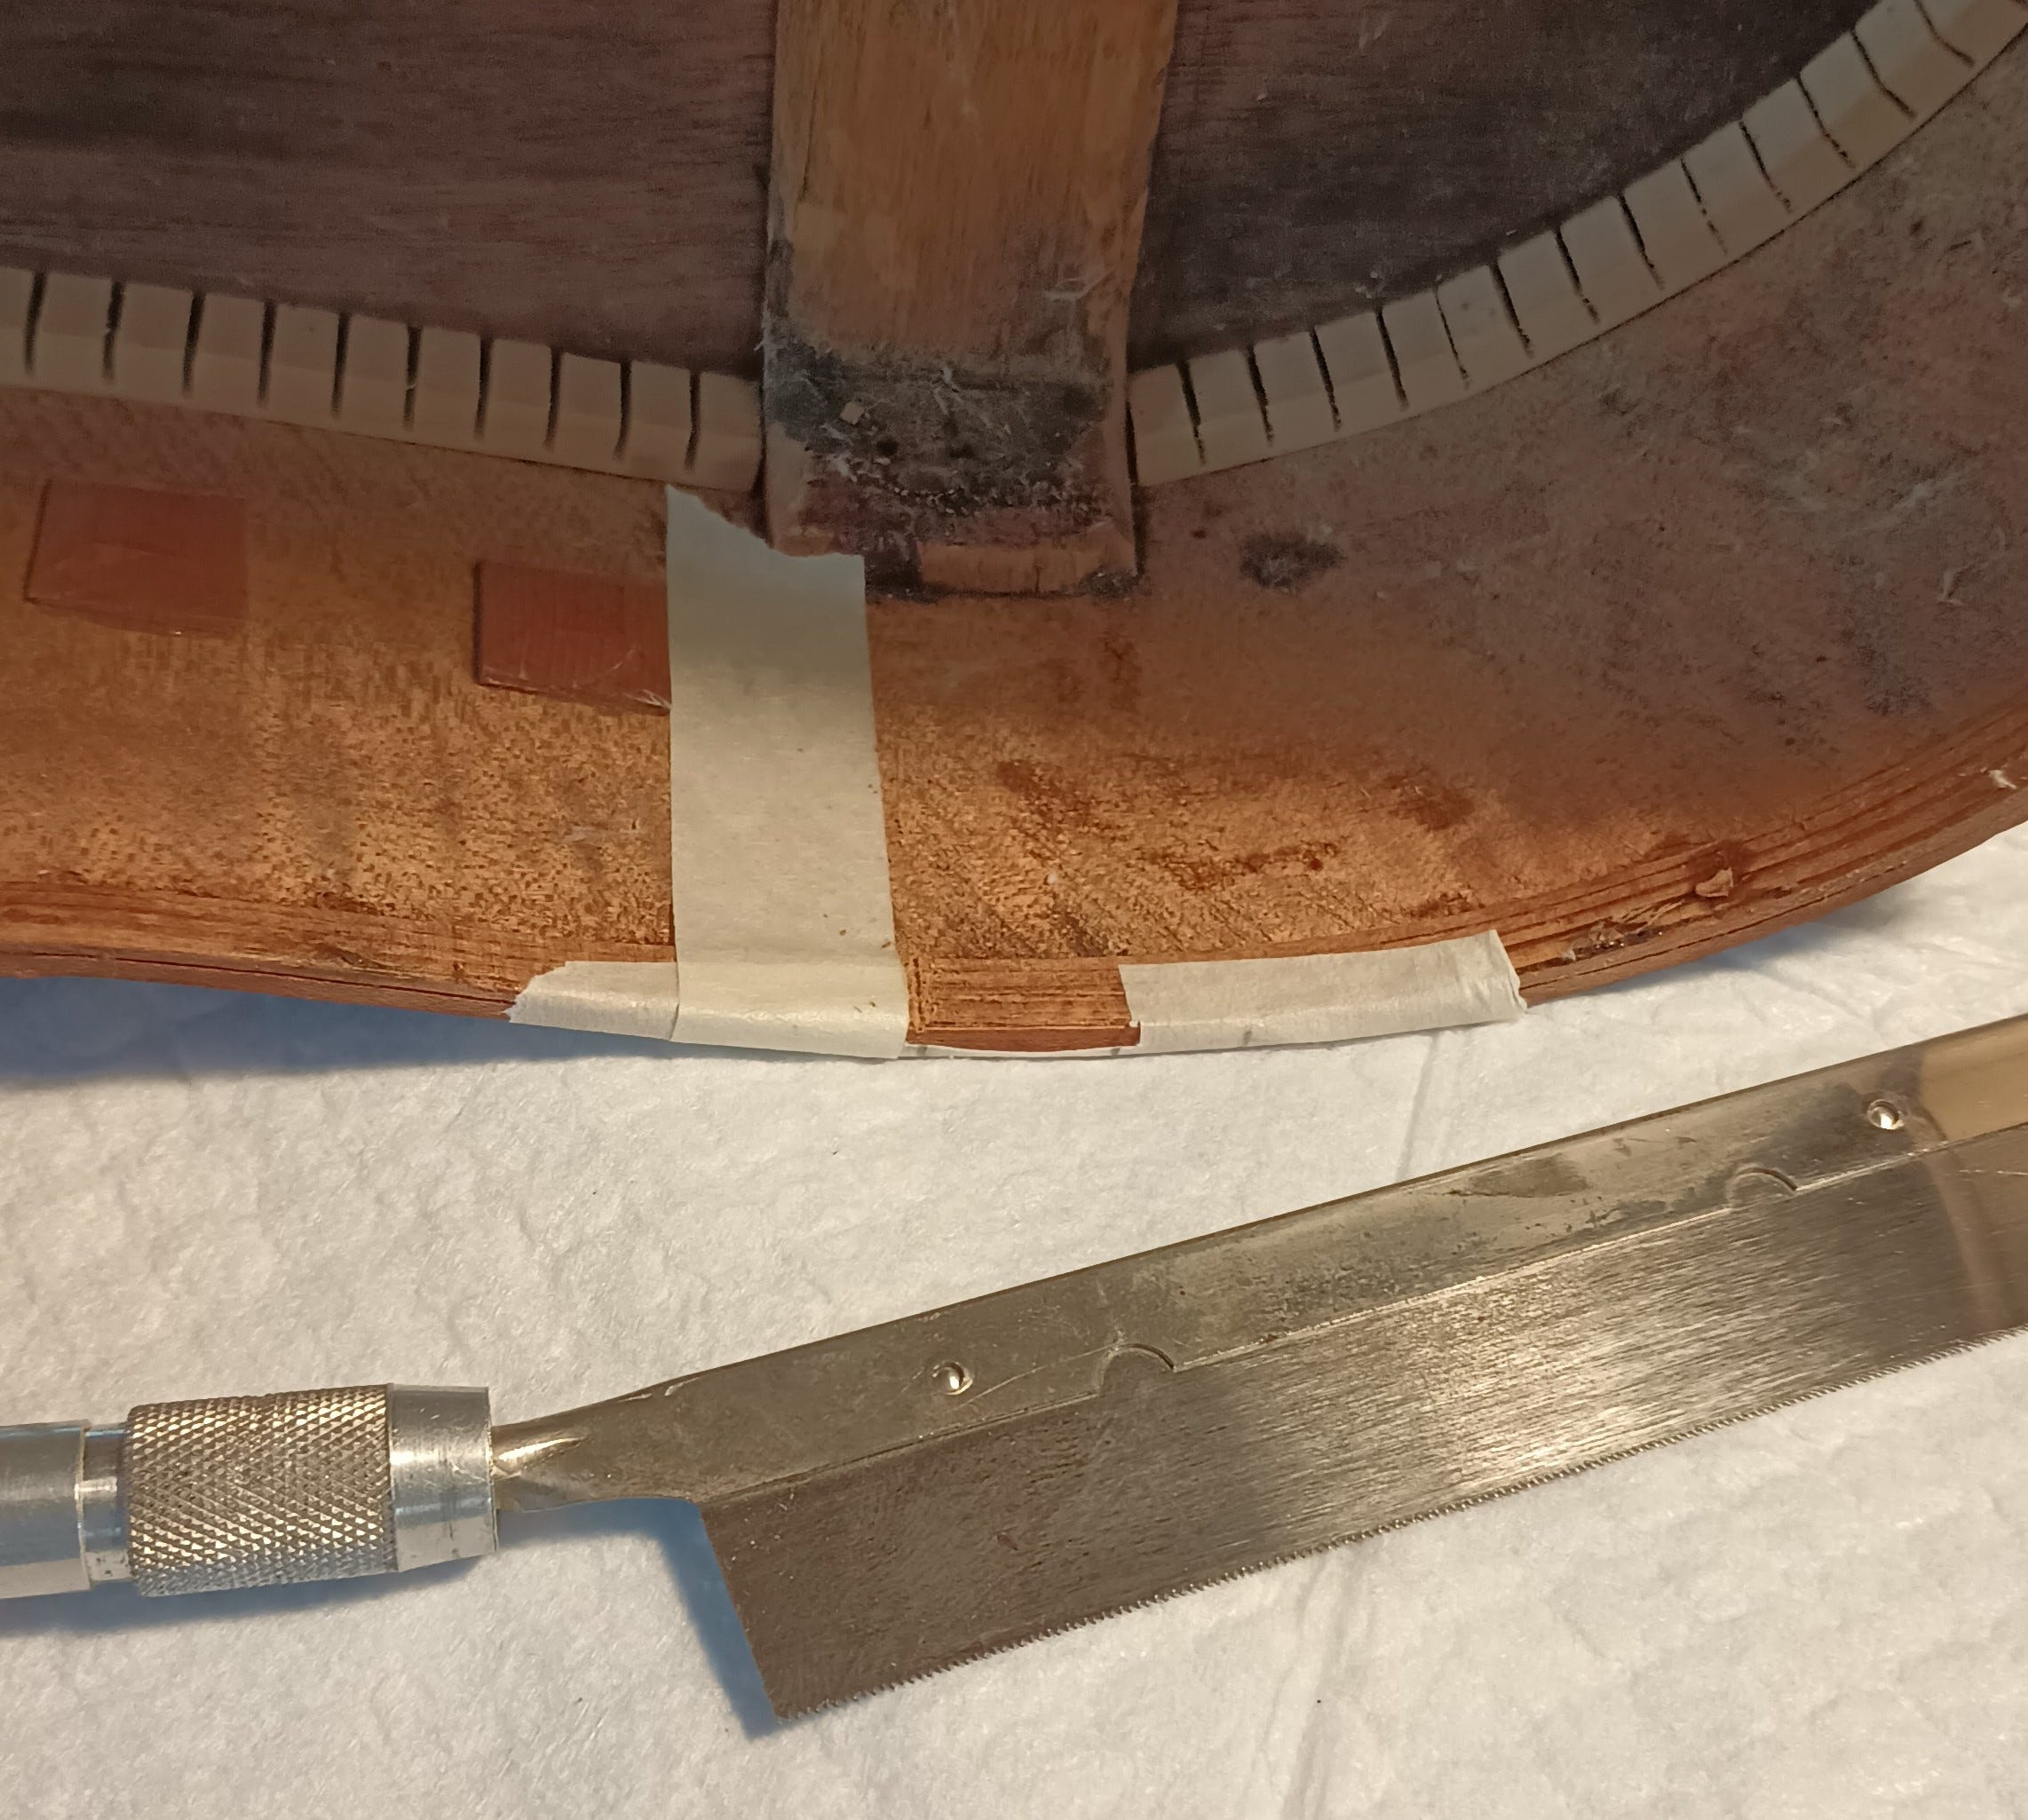
I’ve got the brace position laid out directly above the brace on the back and centered on it, and here I’m using an X-acto razor saw to cut through the lining but not through the side.
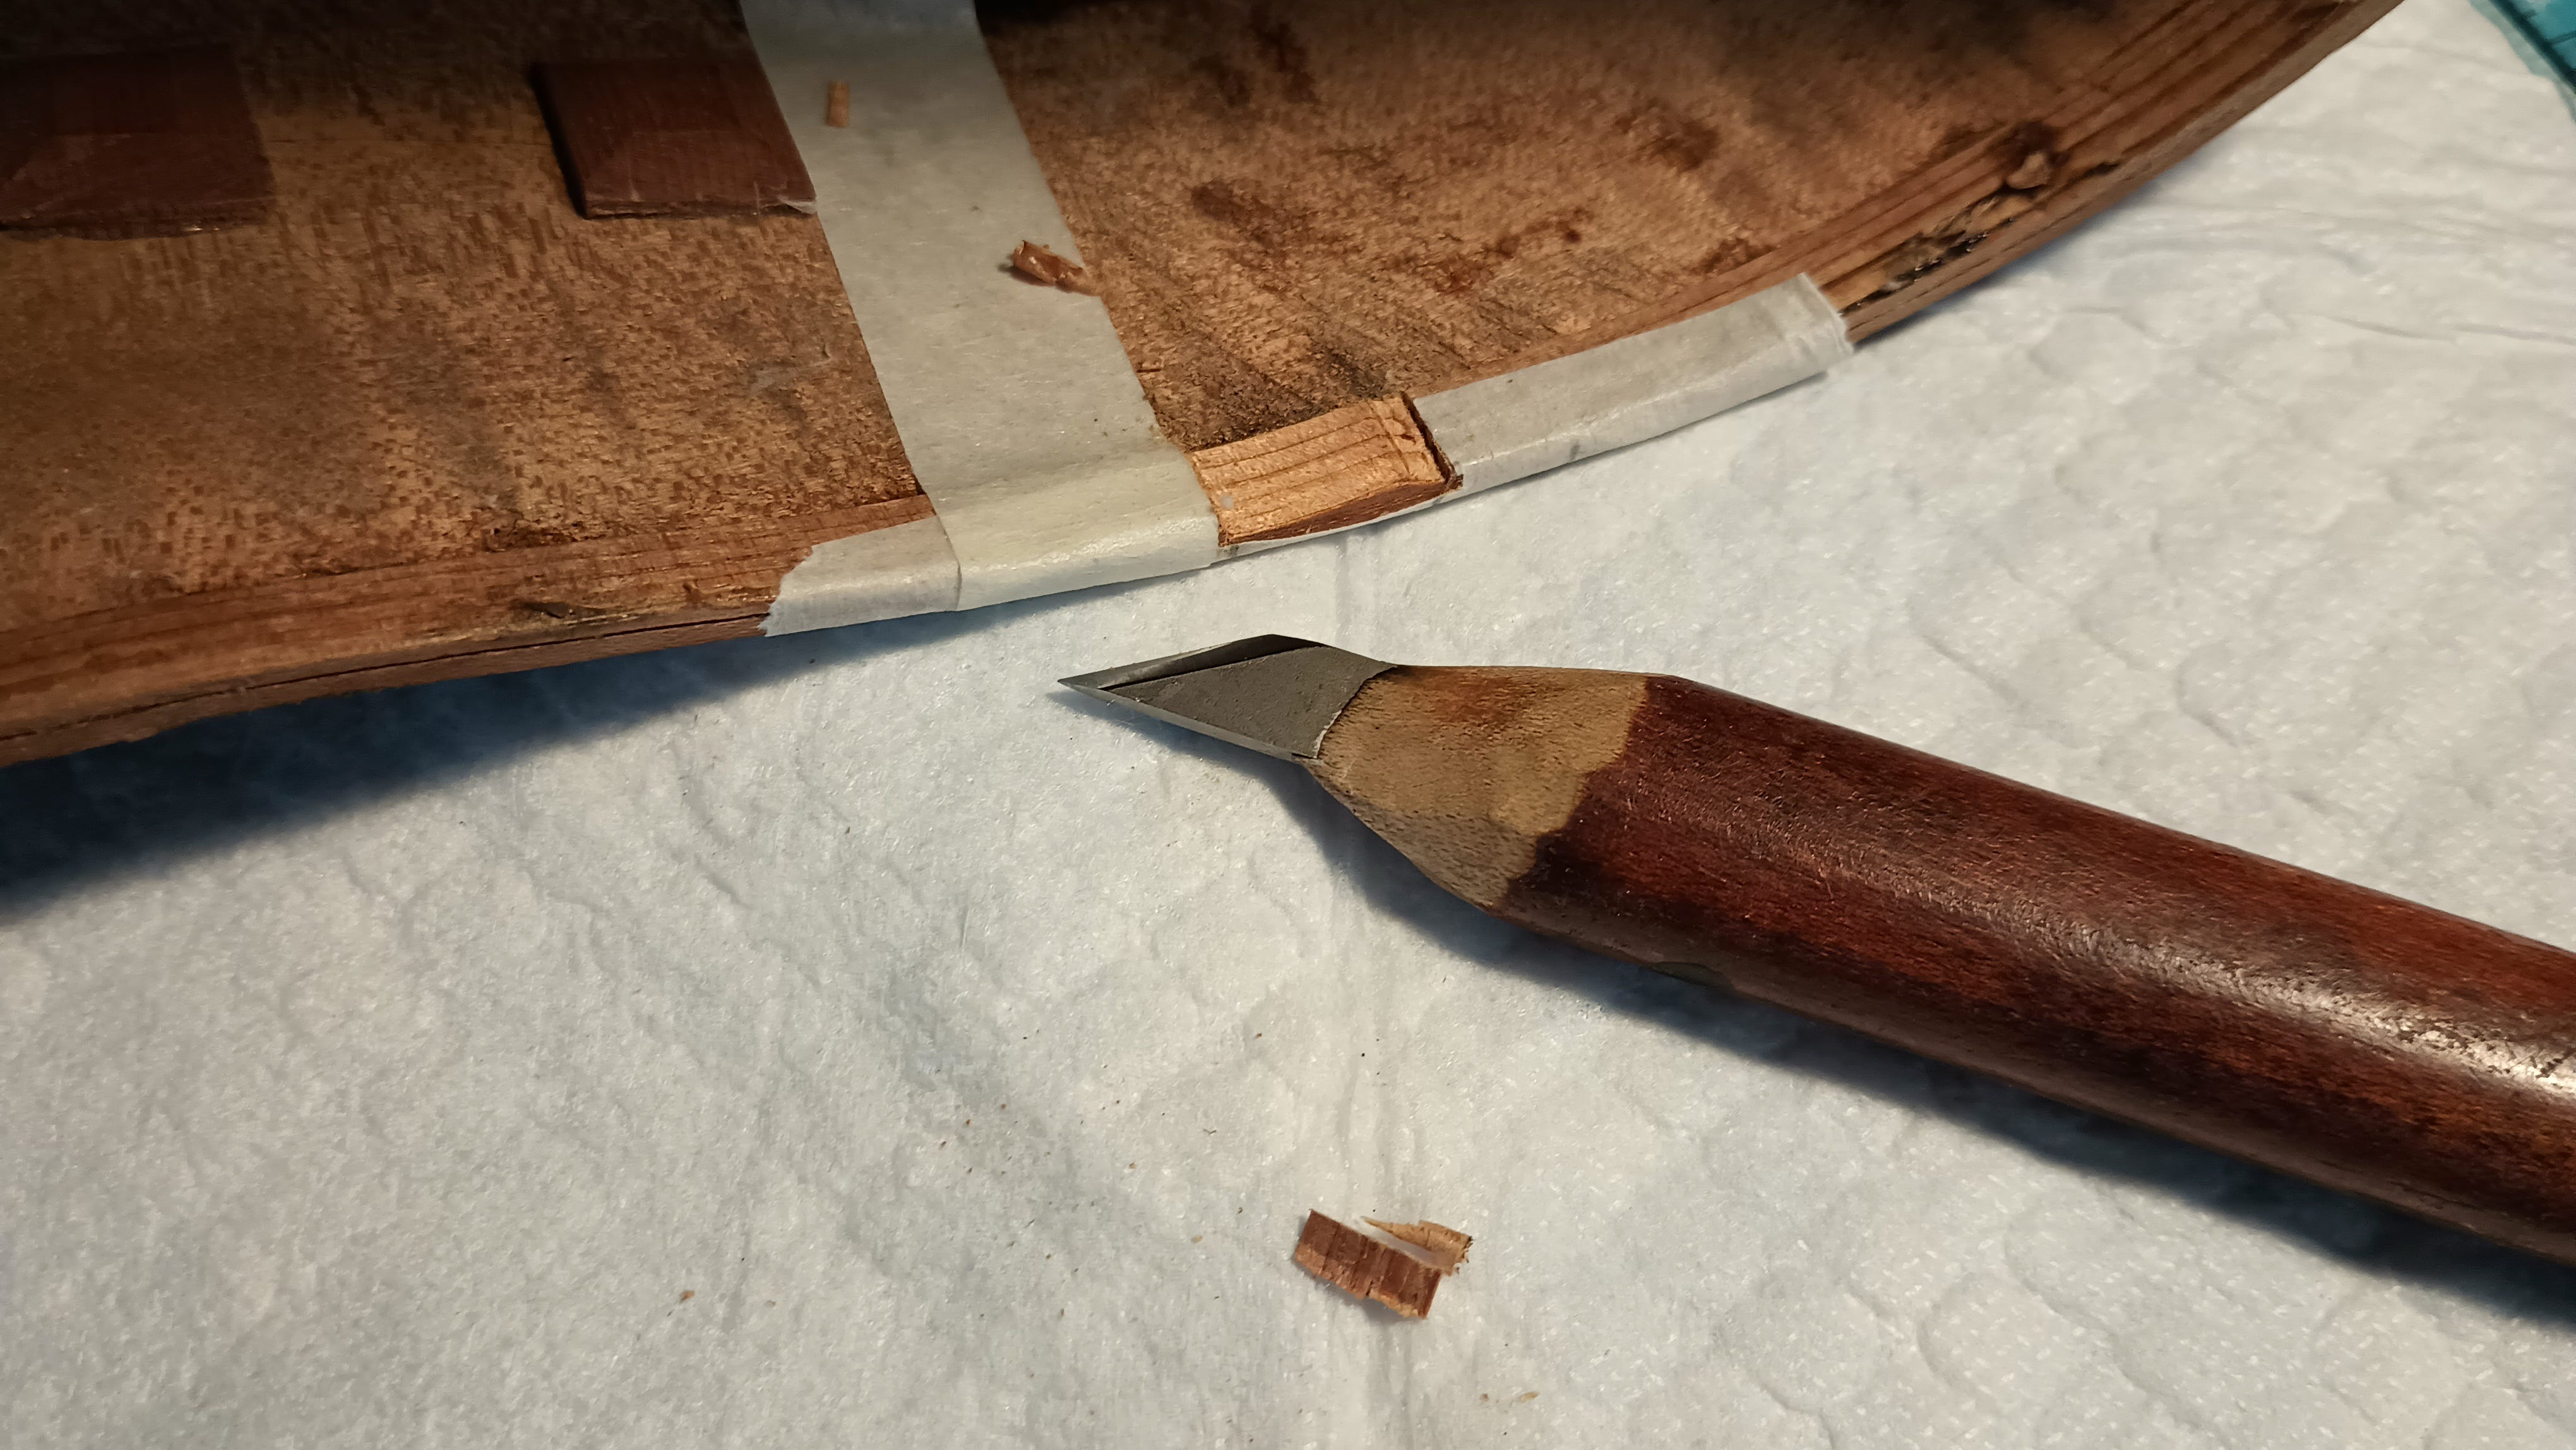
Here I’m using a violin knife to carve out most of the wood of the lining between the two vertical cuts. Once I get most of it out, I applied hot wet pads to persuade the glue to release and allow the rest of the lining to be removed. I did this on both sides. Now we need side brace stock and the top brace. There’s a little chicken-and-egg thing here, because the top brace rests on the side braces, so the side braces need to be fitted first, but we need to know the thickness of the top first so that the side braces are the right size. So we work on both together.
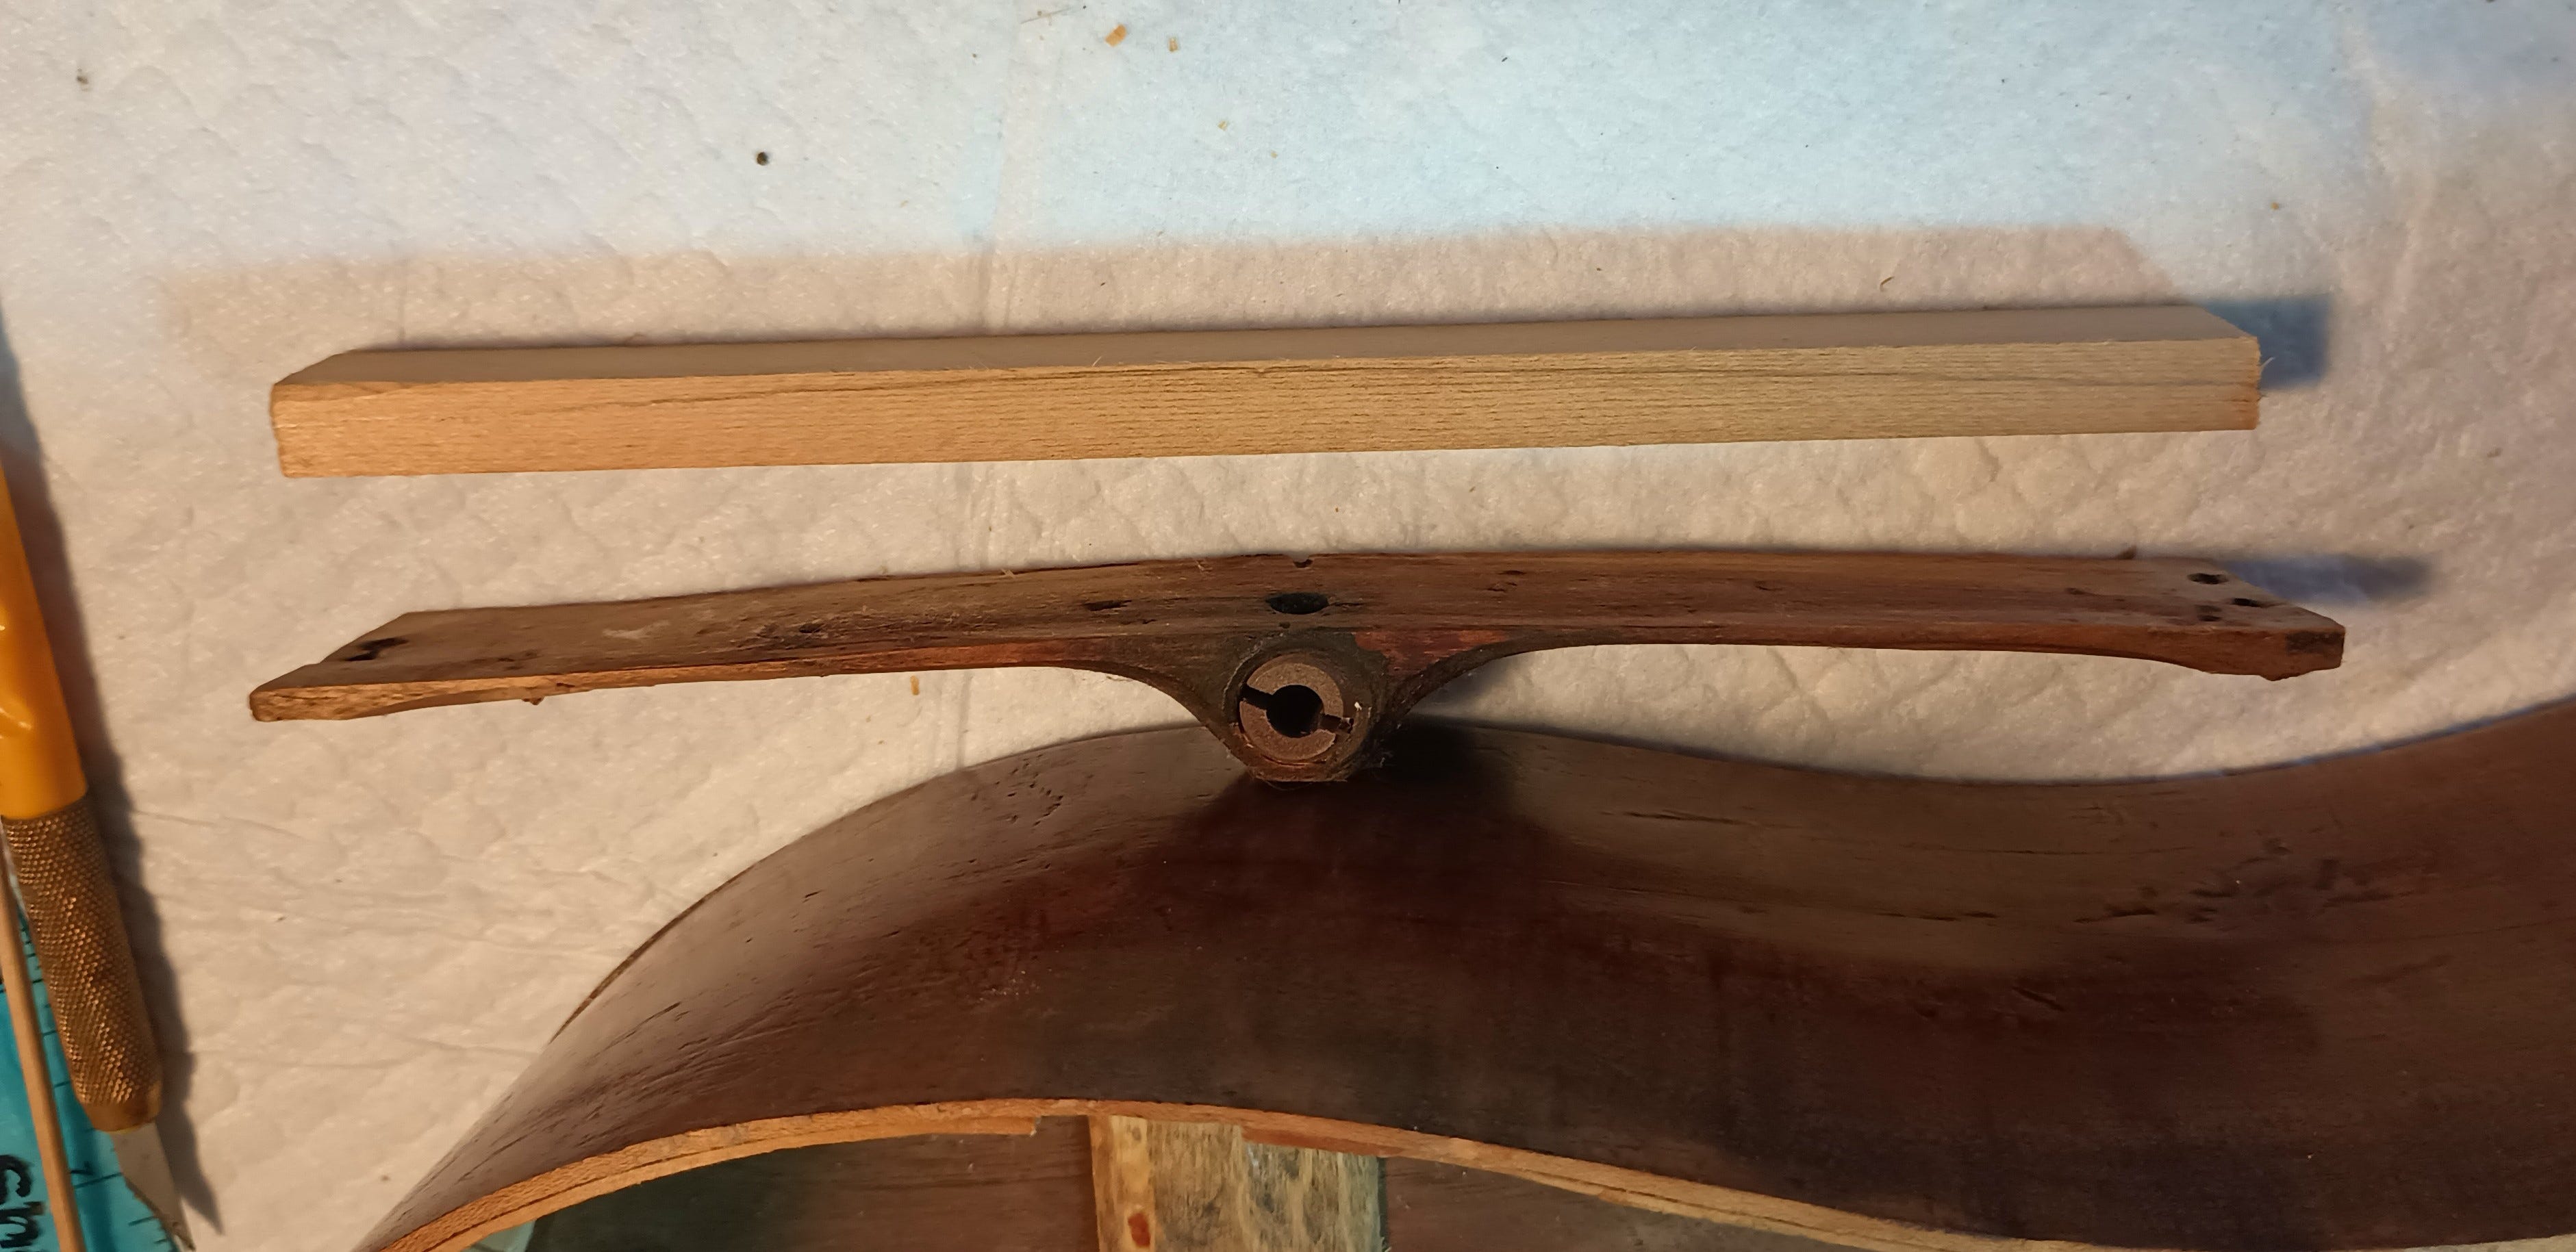
Here I’ve laid out the curve of the new head brace by tracing the curve of the center brace onto it.
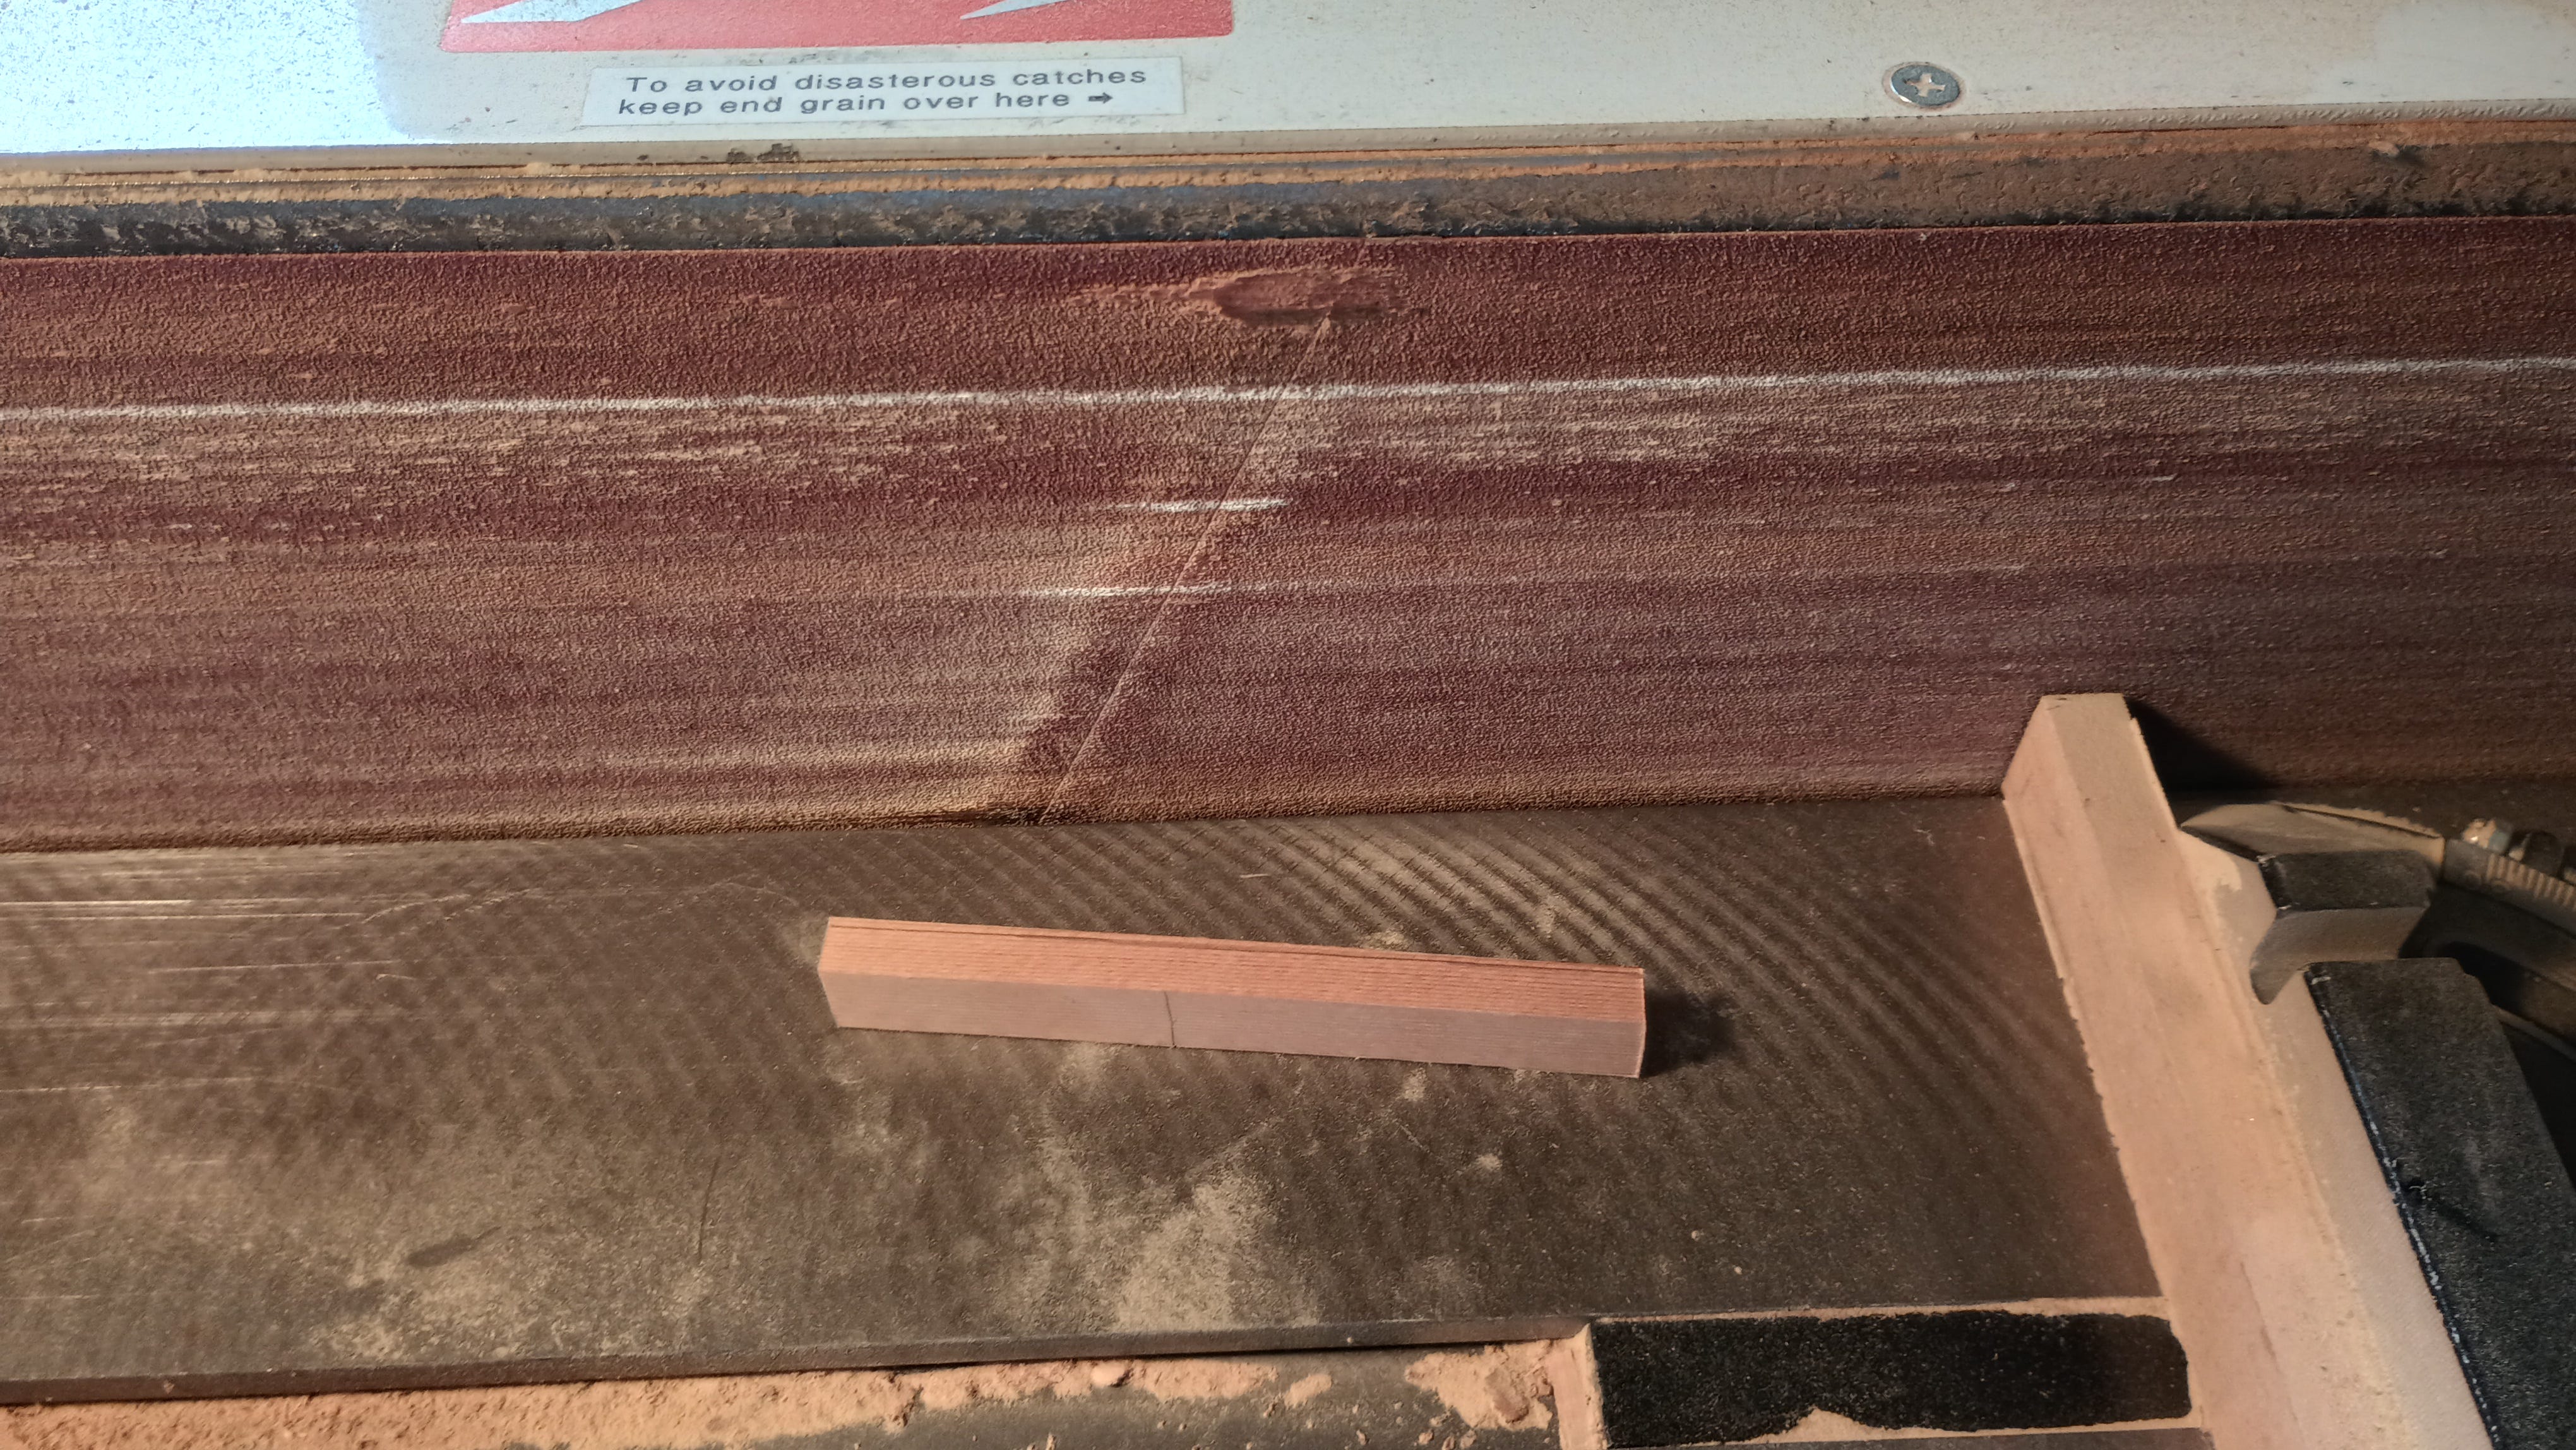
The brace stock is too thick to use directly for making the side braces, so I cut a piece and sanded it down thinner on the big edge sander. Then I used the same sander to follow the curve on the top brace. The side pieces got cut and sanded to length. The edge sander is across the shop from the gurdy bench, so there was quite a bit of running back and forth and debating whether it would be easier to move the work closer.
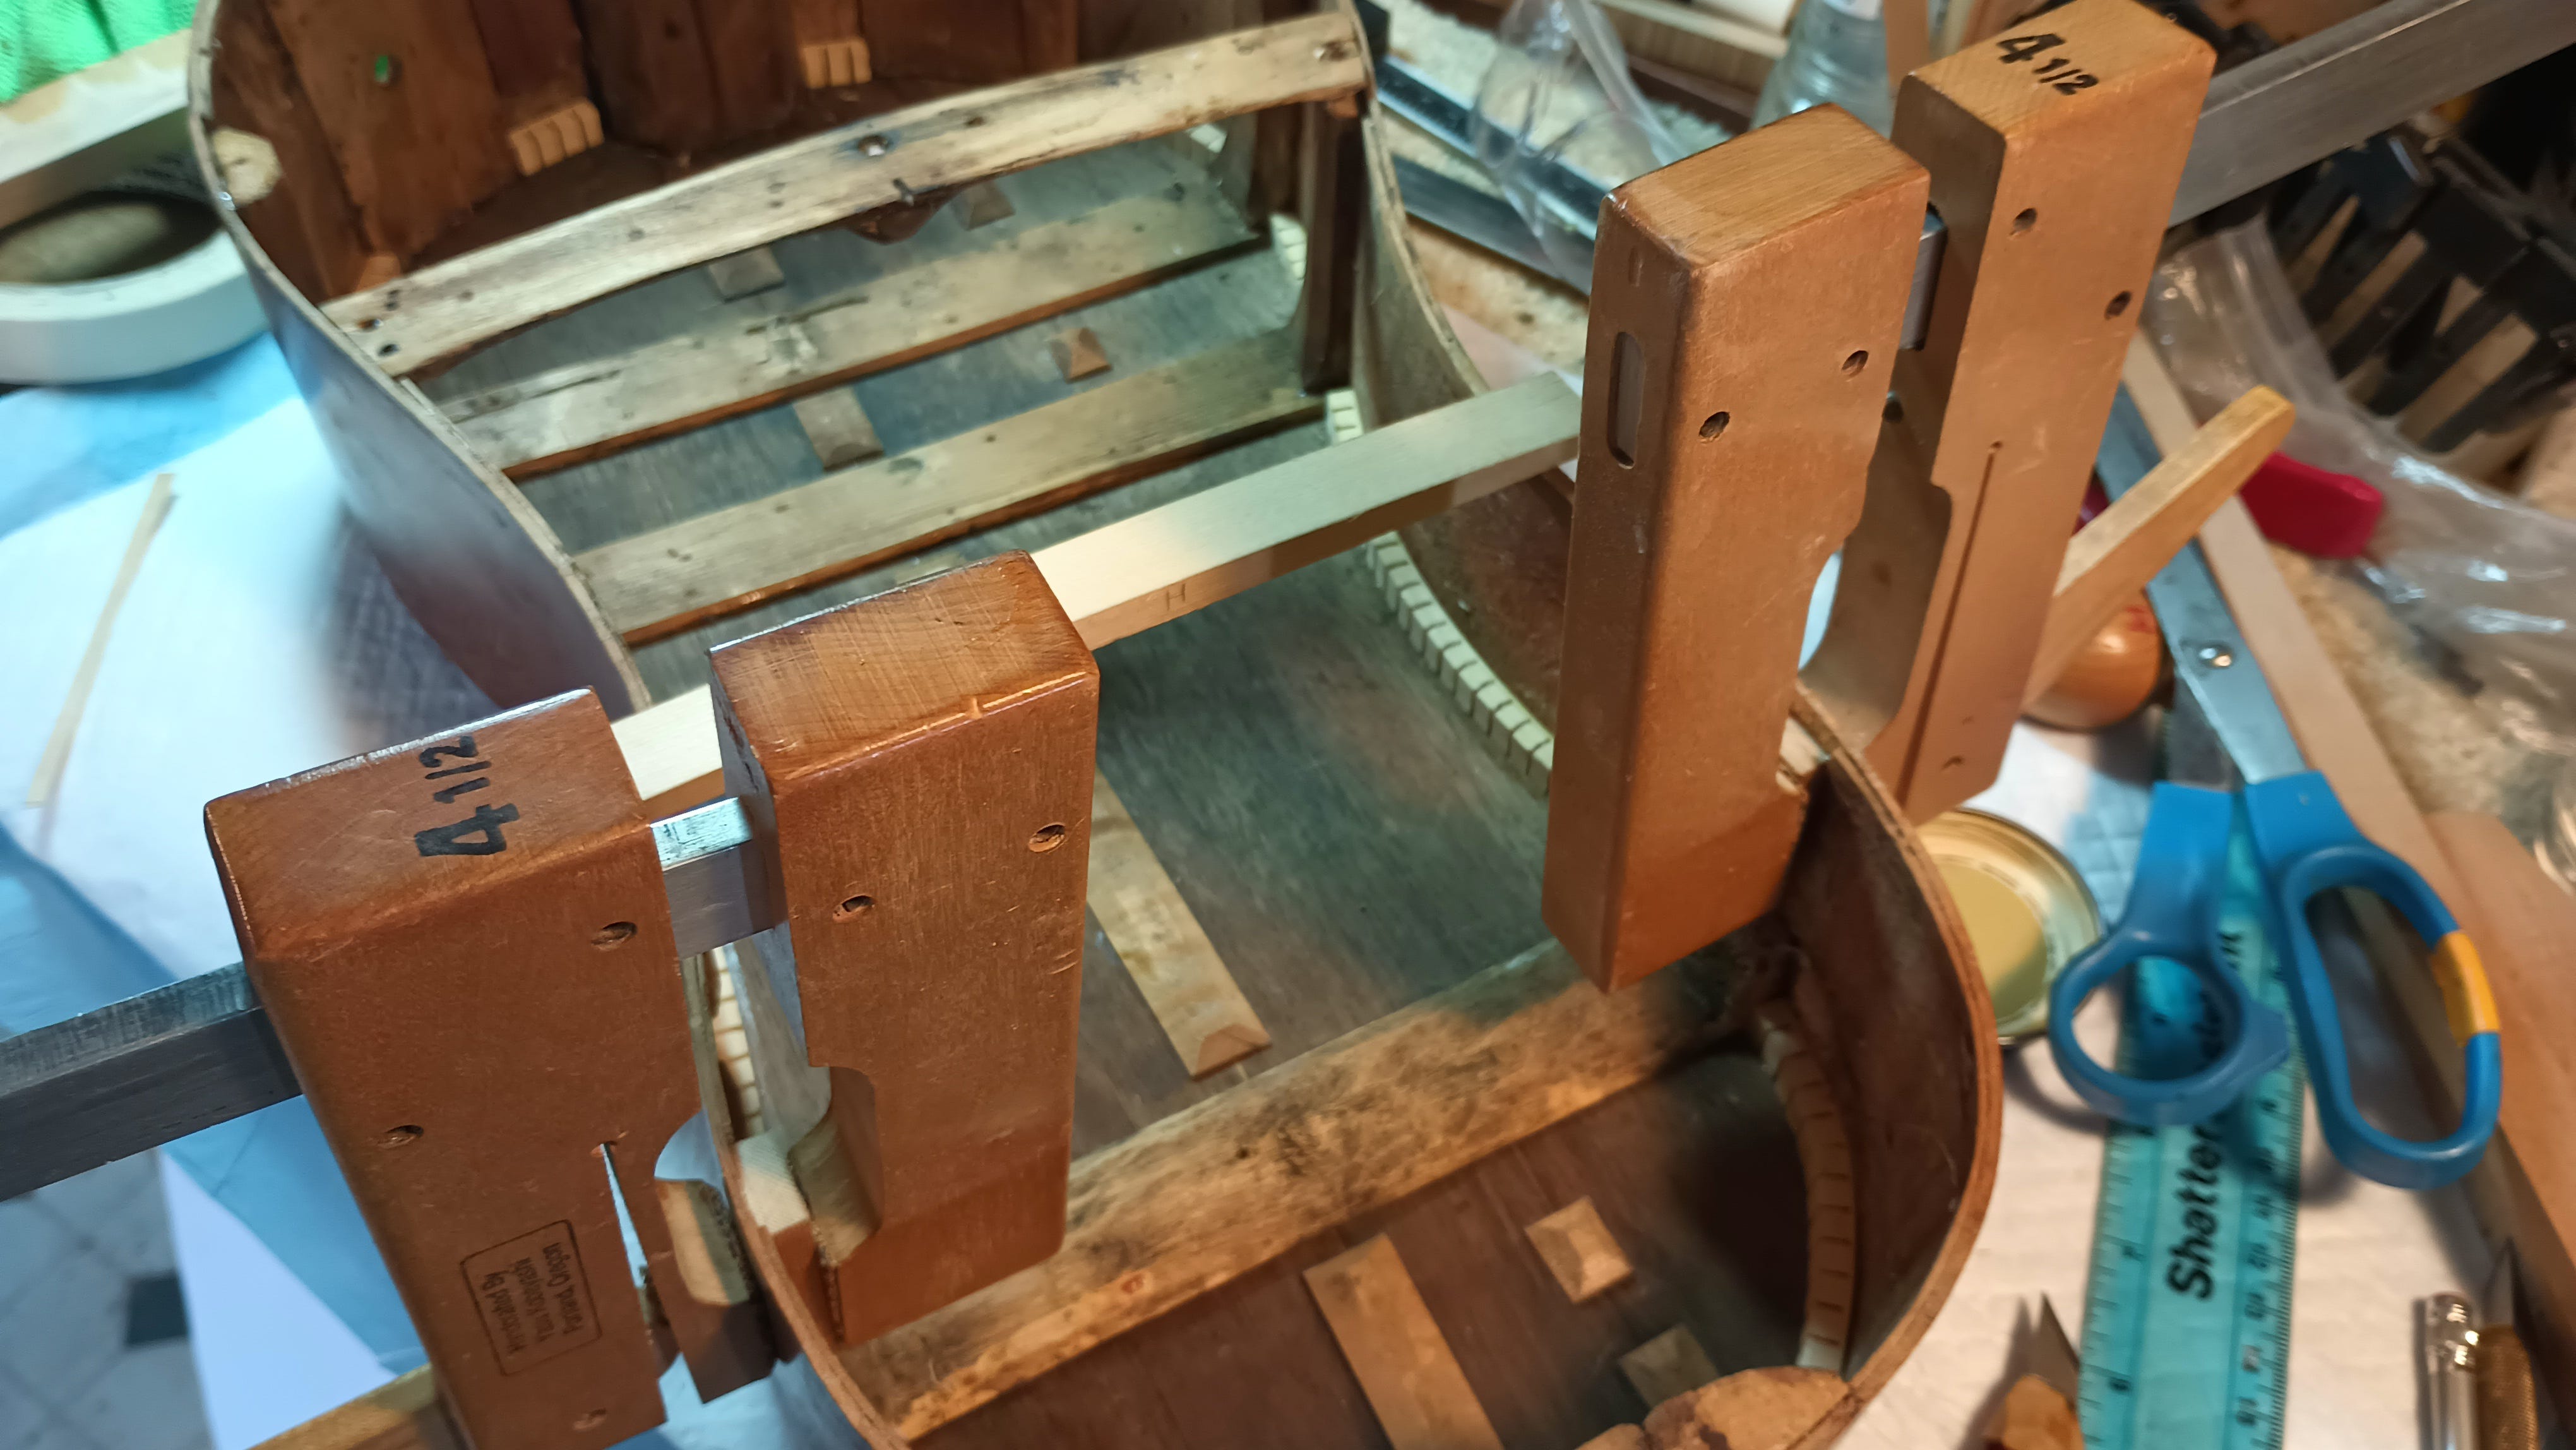
The side braces get glued in to support the top brace.
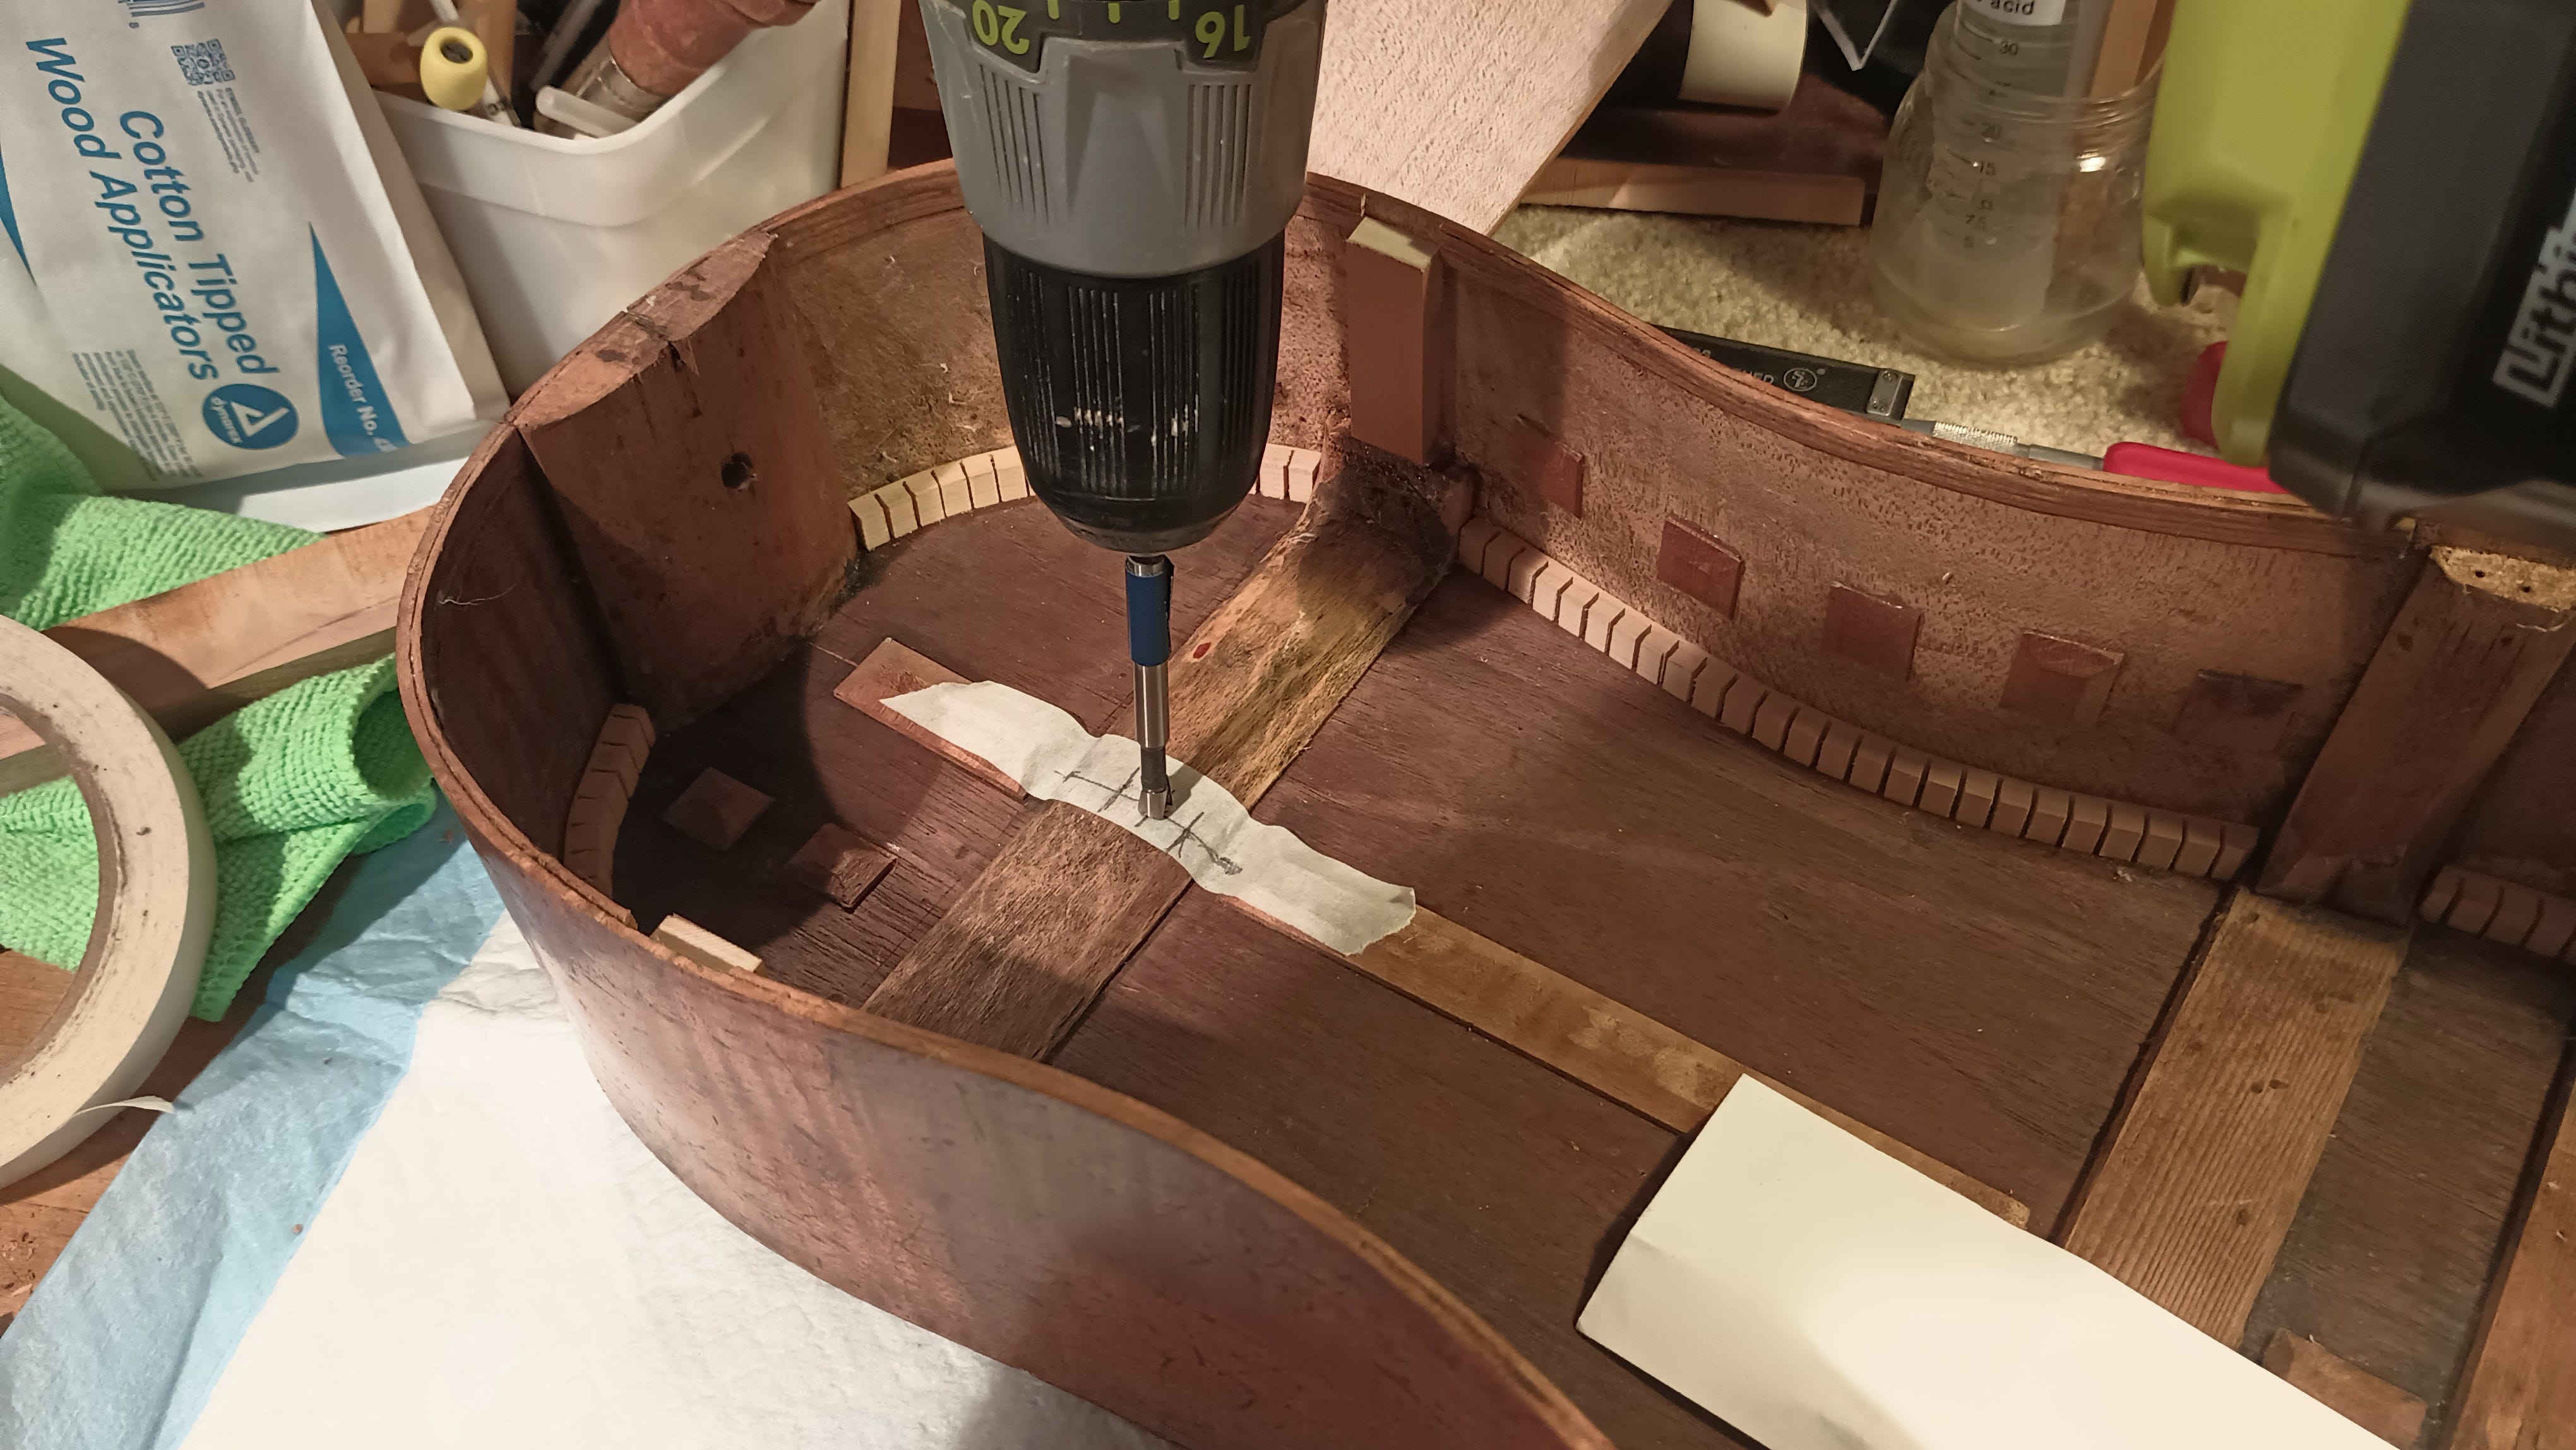
Here I’m laying out the centerline on the head brace so I’ll know where to drill it on the underside for the soundpost. The go-bar deck is a convenient way to make sure the straight edge (in this case a vintage drafting T-square, from before the days of CAD) stays in place. I use this to mark the centerline on the back brace also, and use a combination square to lay out where the soundpost goes on the back brace.
The brace stock is thicker than is appropriate for a brace, so I’ll cut it down a bit, but I’m leaving a thicker part in the middle for the soundpost.
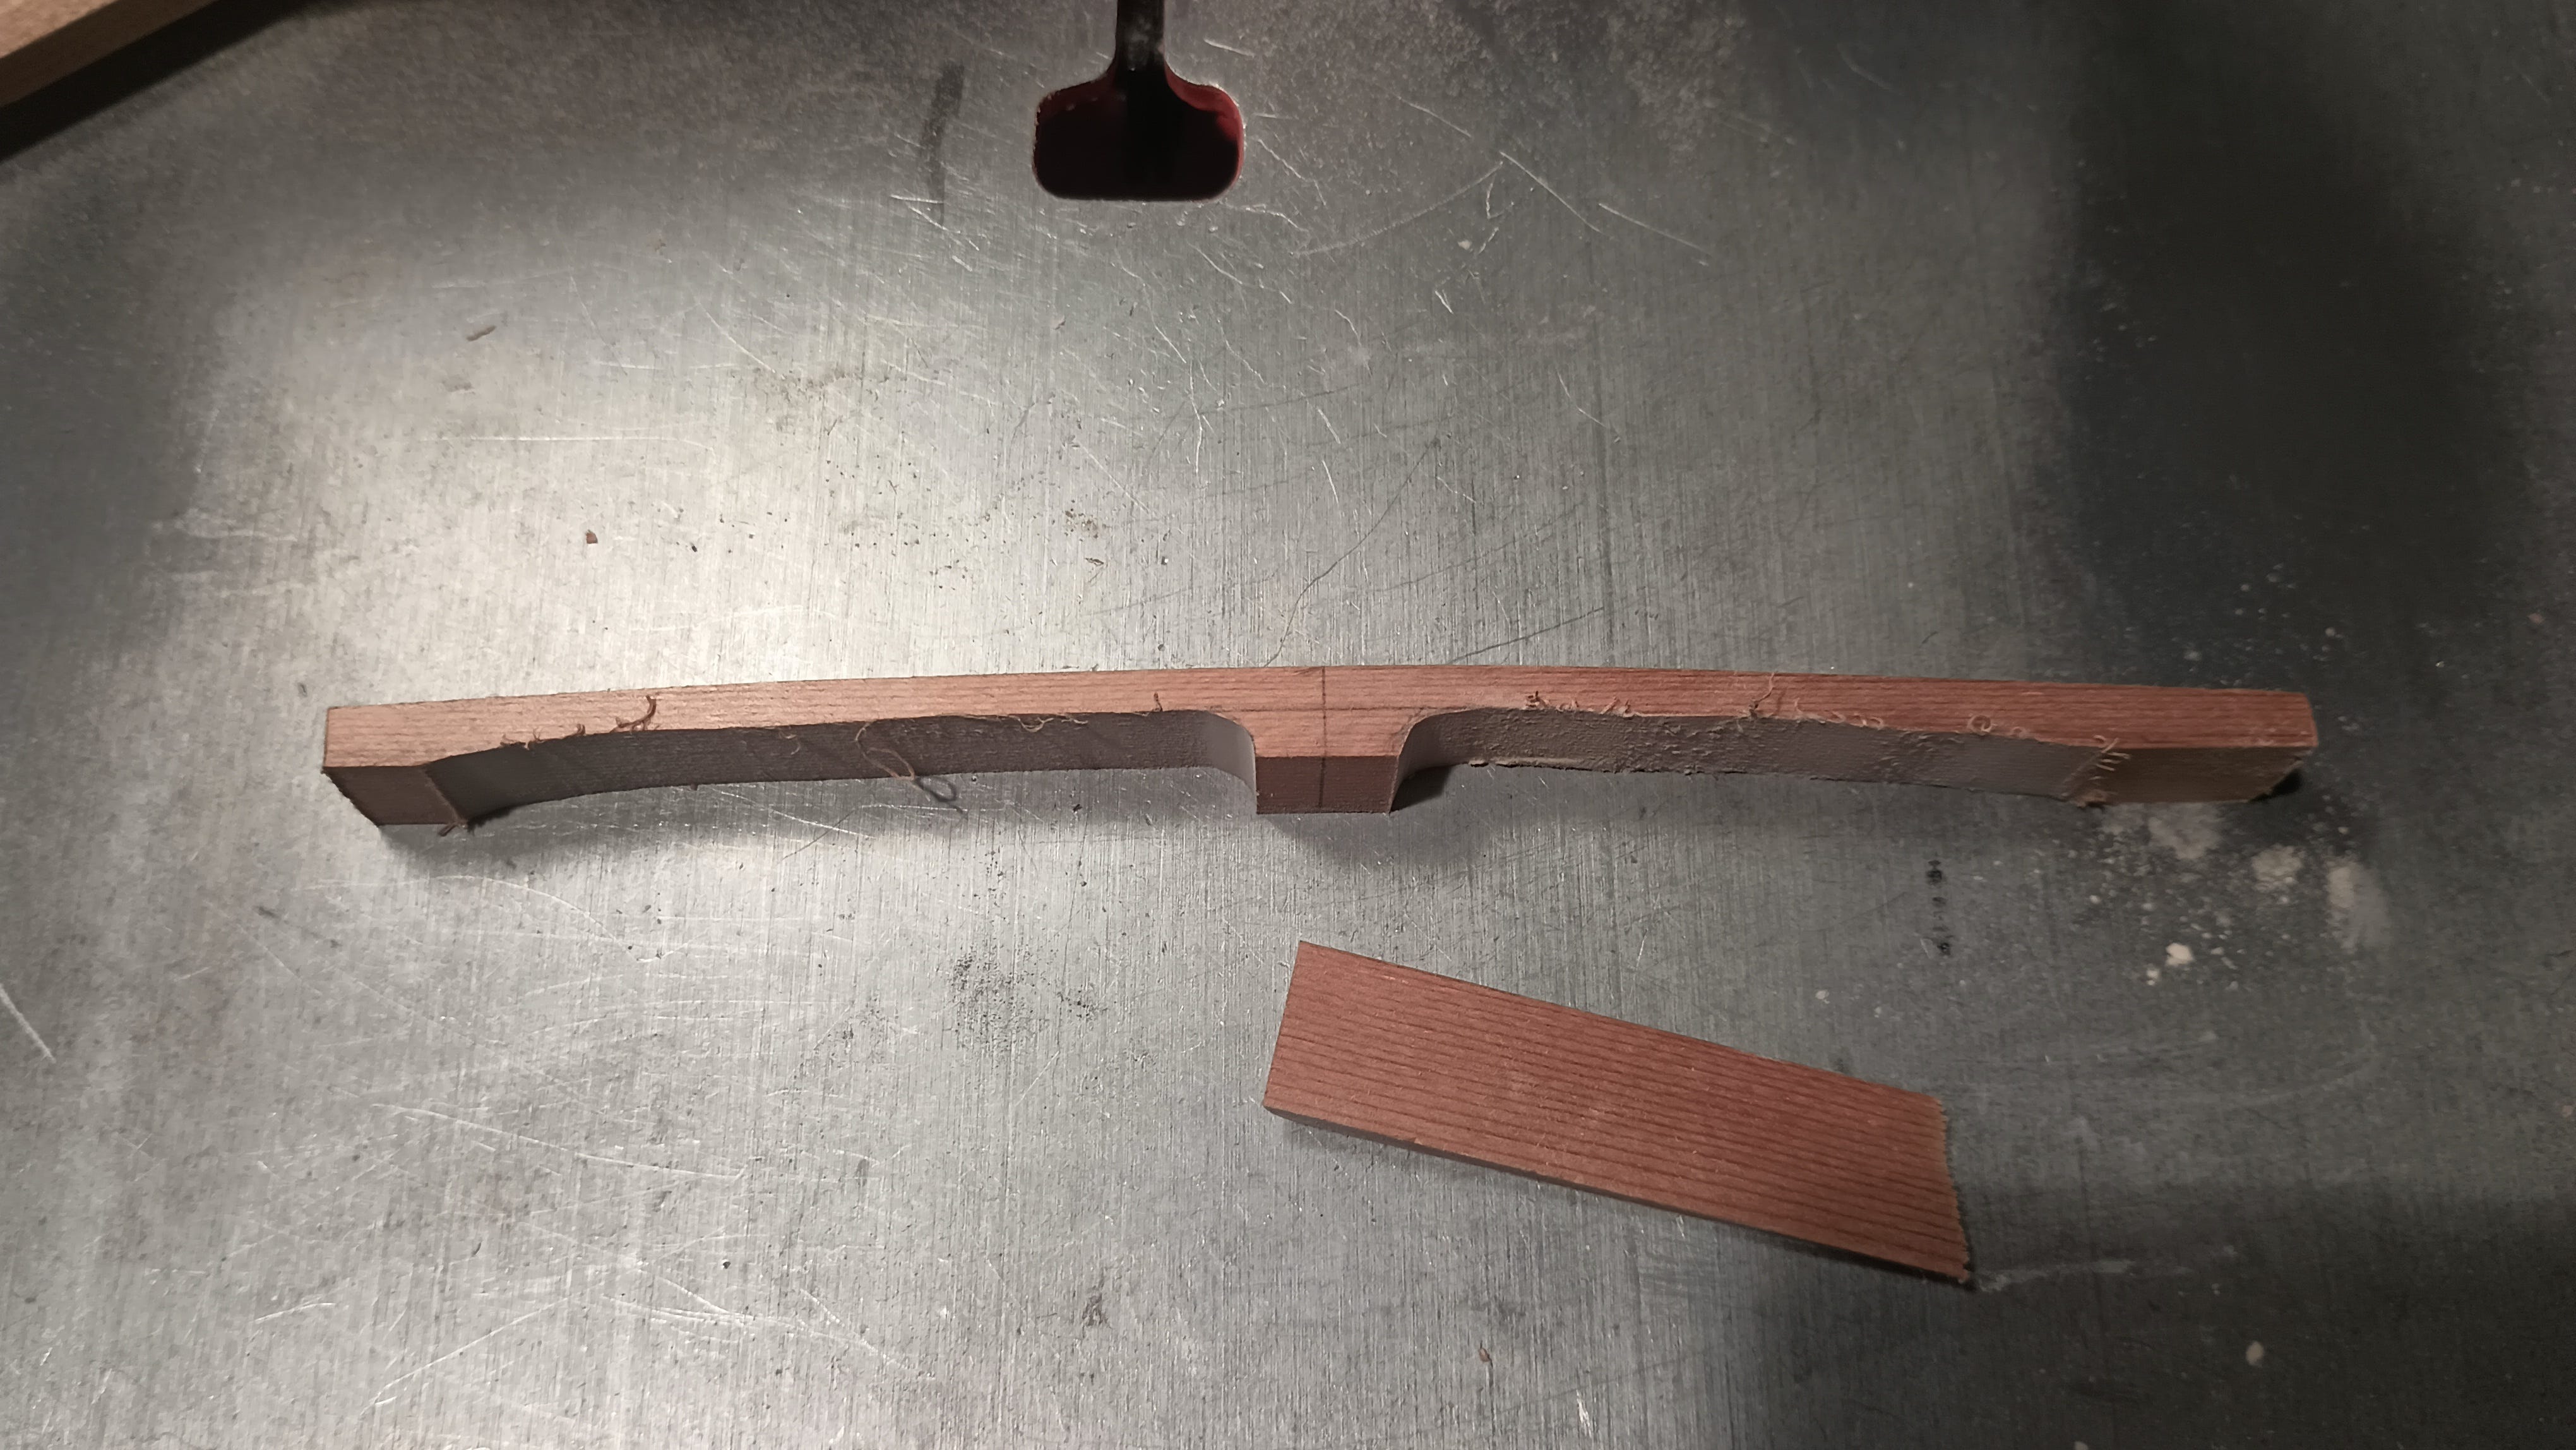
Here I’ve laid it out and cut it on the scrollsaw. The left side came out pretty much as intended, but the right needs a little more taken off while leaving the flat at the end because that’s how tall the brace needs to be to fit on the side braces. If Cali had cut it, it would have been perfect on both sides - she has hand skills with the scrollsaw that I have not developed yet.
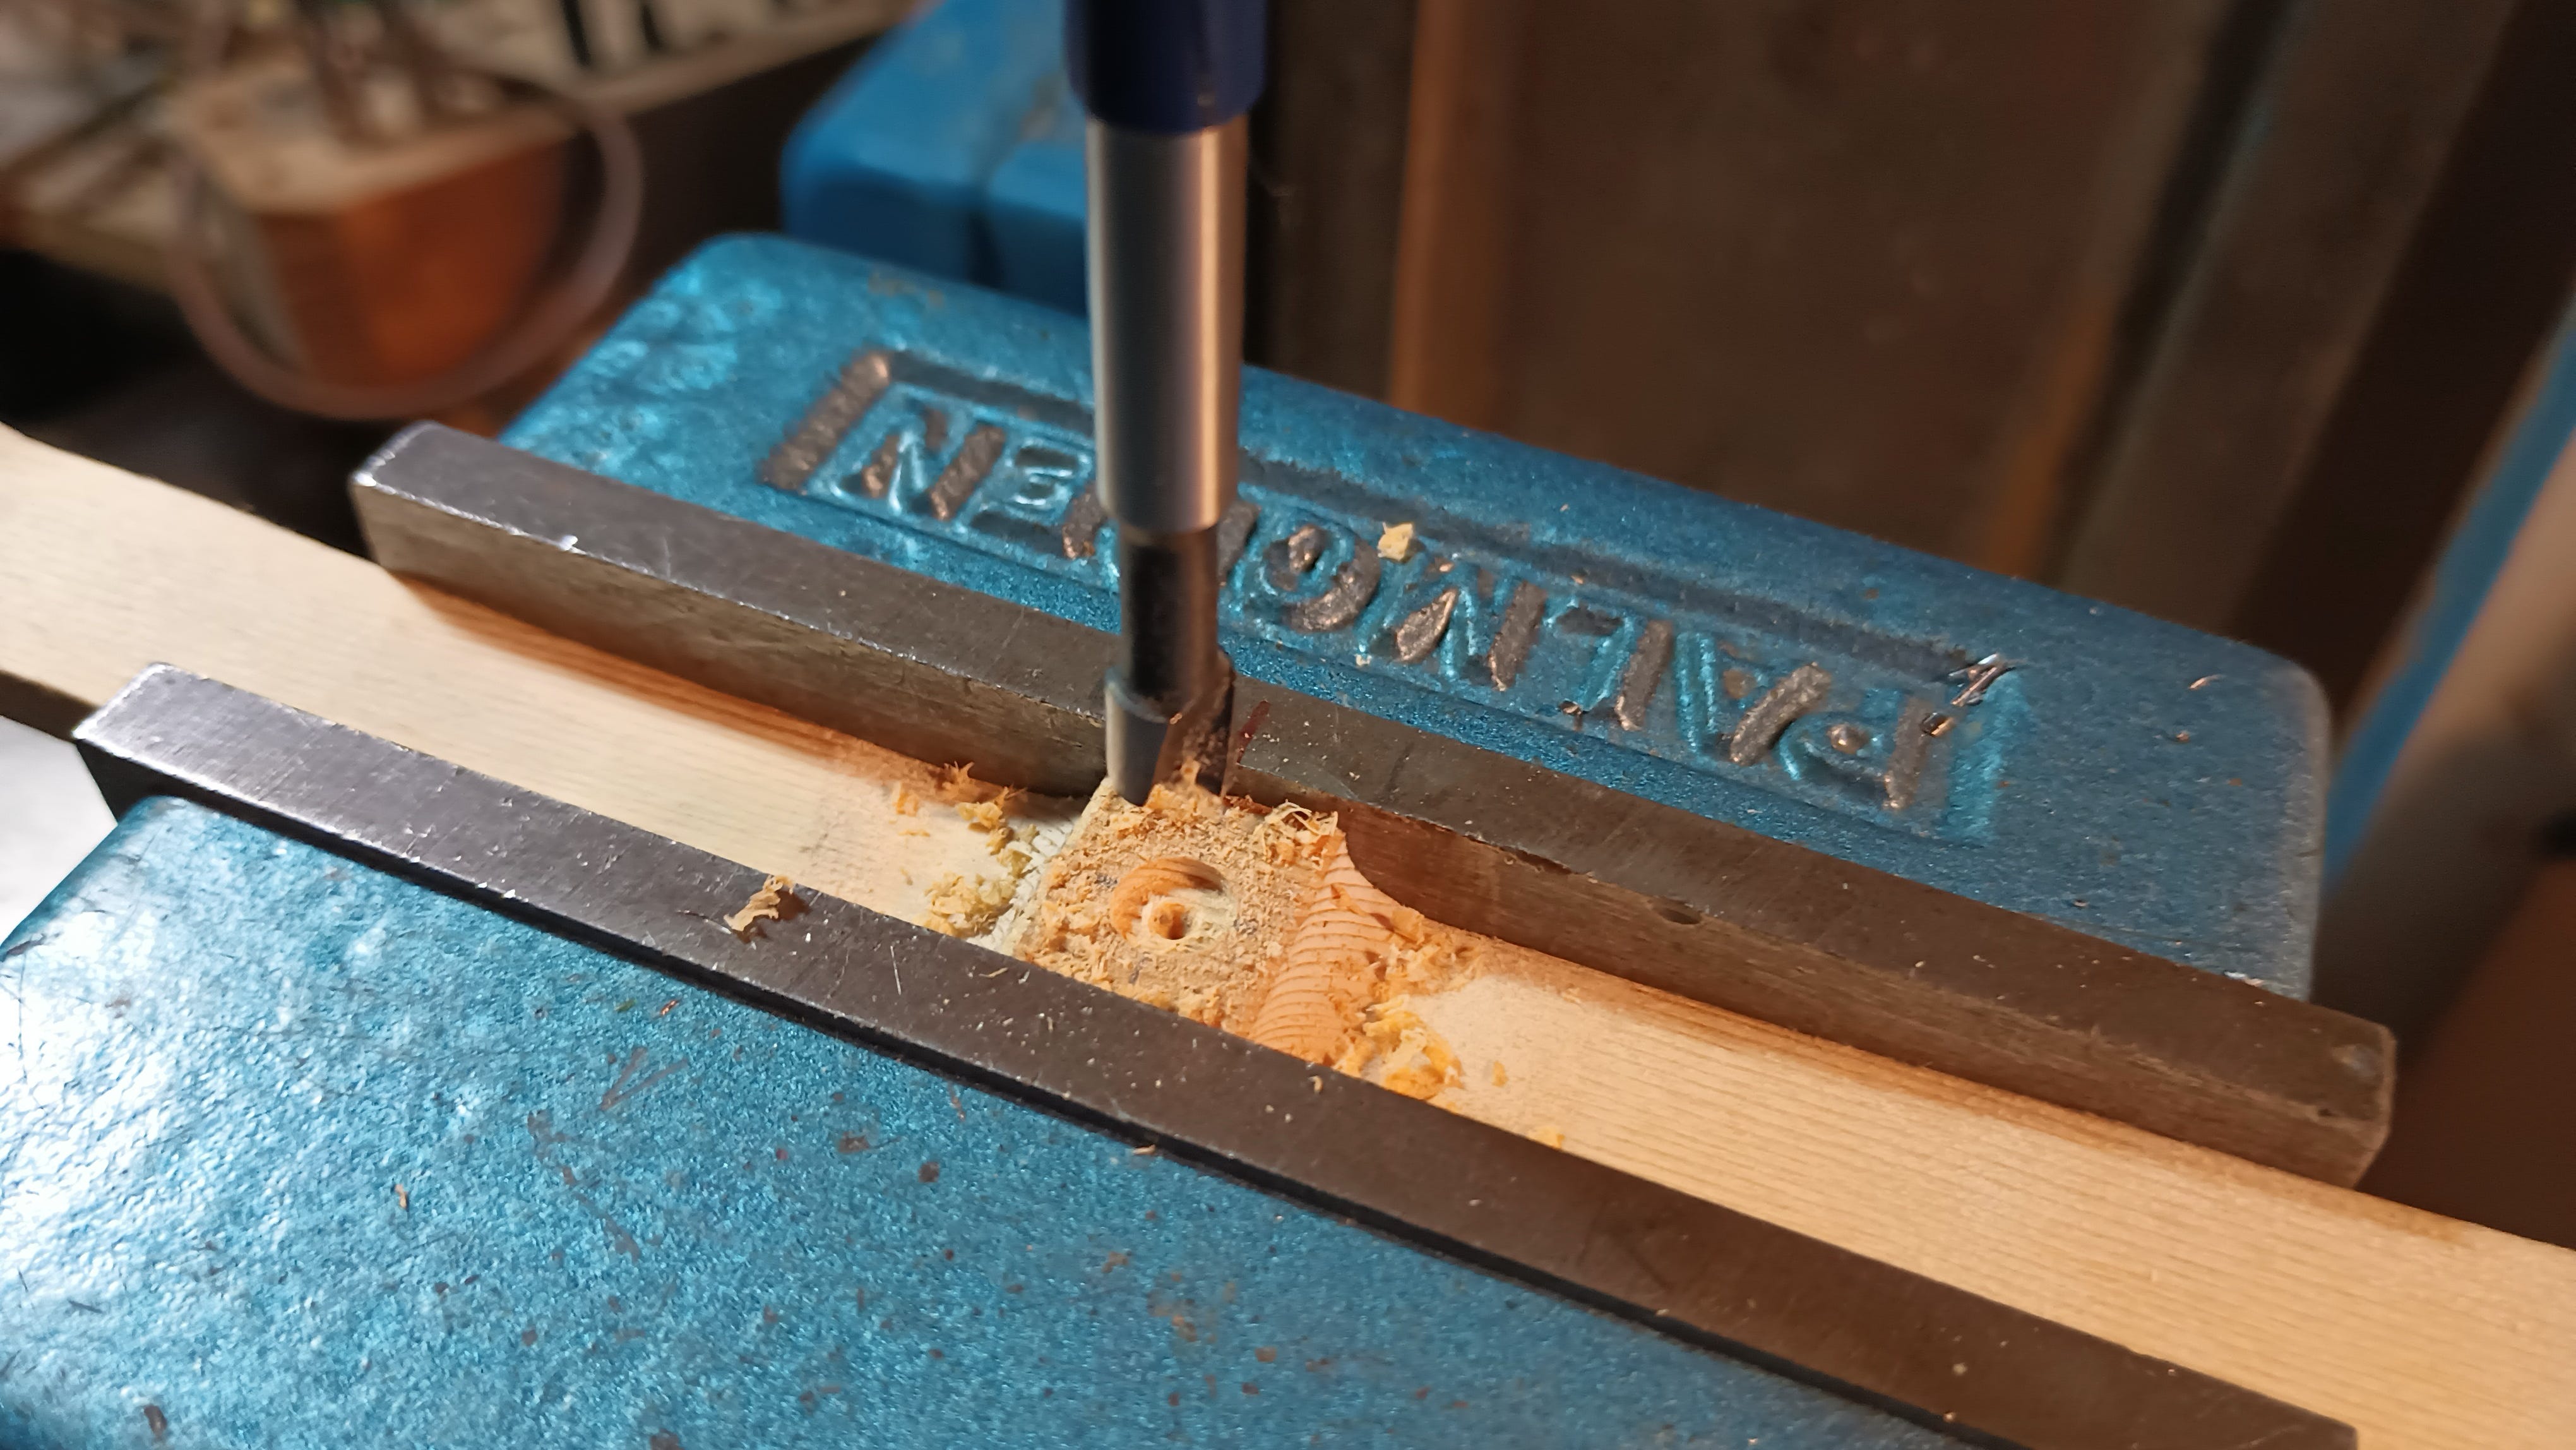
I smoothed the undersides off with the roller part of the 3” belt sander, and drilled the underside with a 1/4” Forstner bit. The Forstner is designed to provide a flat-bottomed hole, with the exception of the outermost edges (which cut a little deeper, keeping the bit centered) and the guide tip at the center. On most Forstner bits the flat area is larger, but on this tiny (relatively) bit the guide divot in the center looks huge. It’s still the second-best way to make a square-bottomed. The best way is with a center-cutting end mill, and that might have been an option here, but the presence of the divot is not a difference that makes a difference.
It’s not common practice to use a Forstner bit in a hand drill, but I do it for the soundposts because the bit is small and we’re not drilling very deep. With larger bits the hand drill is underpowered and the bits tend to wander.
Next time we’ll look at how to fit the soundpost Just Right, and possibly discuss the relevance of Goldilocks to hurdy-gurdy building.
If you would like access to the archive and receive the bonus version with the bonus photos and commentary (and possibly some outtakes, because no hurdy-gurdy restoration project nails each take) please consider signing up for the paid version. It’s what keeps the lights on (and Cali tells me our electric bill is pretty gnarly.)
Whether you are paid subscriber or not, we really appreciate your support, and we hope you keep enjoying what we’re showing you.